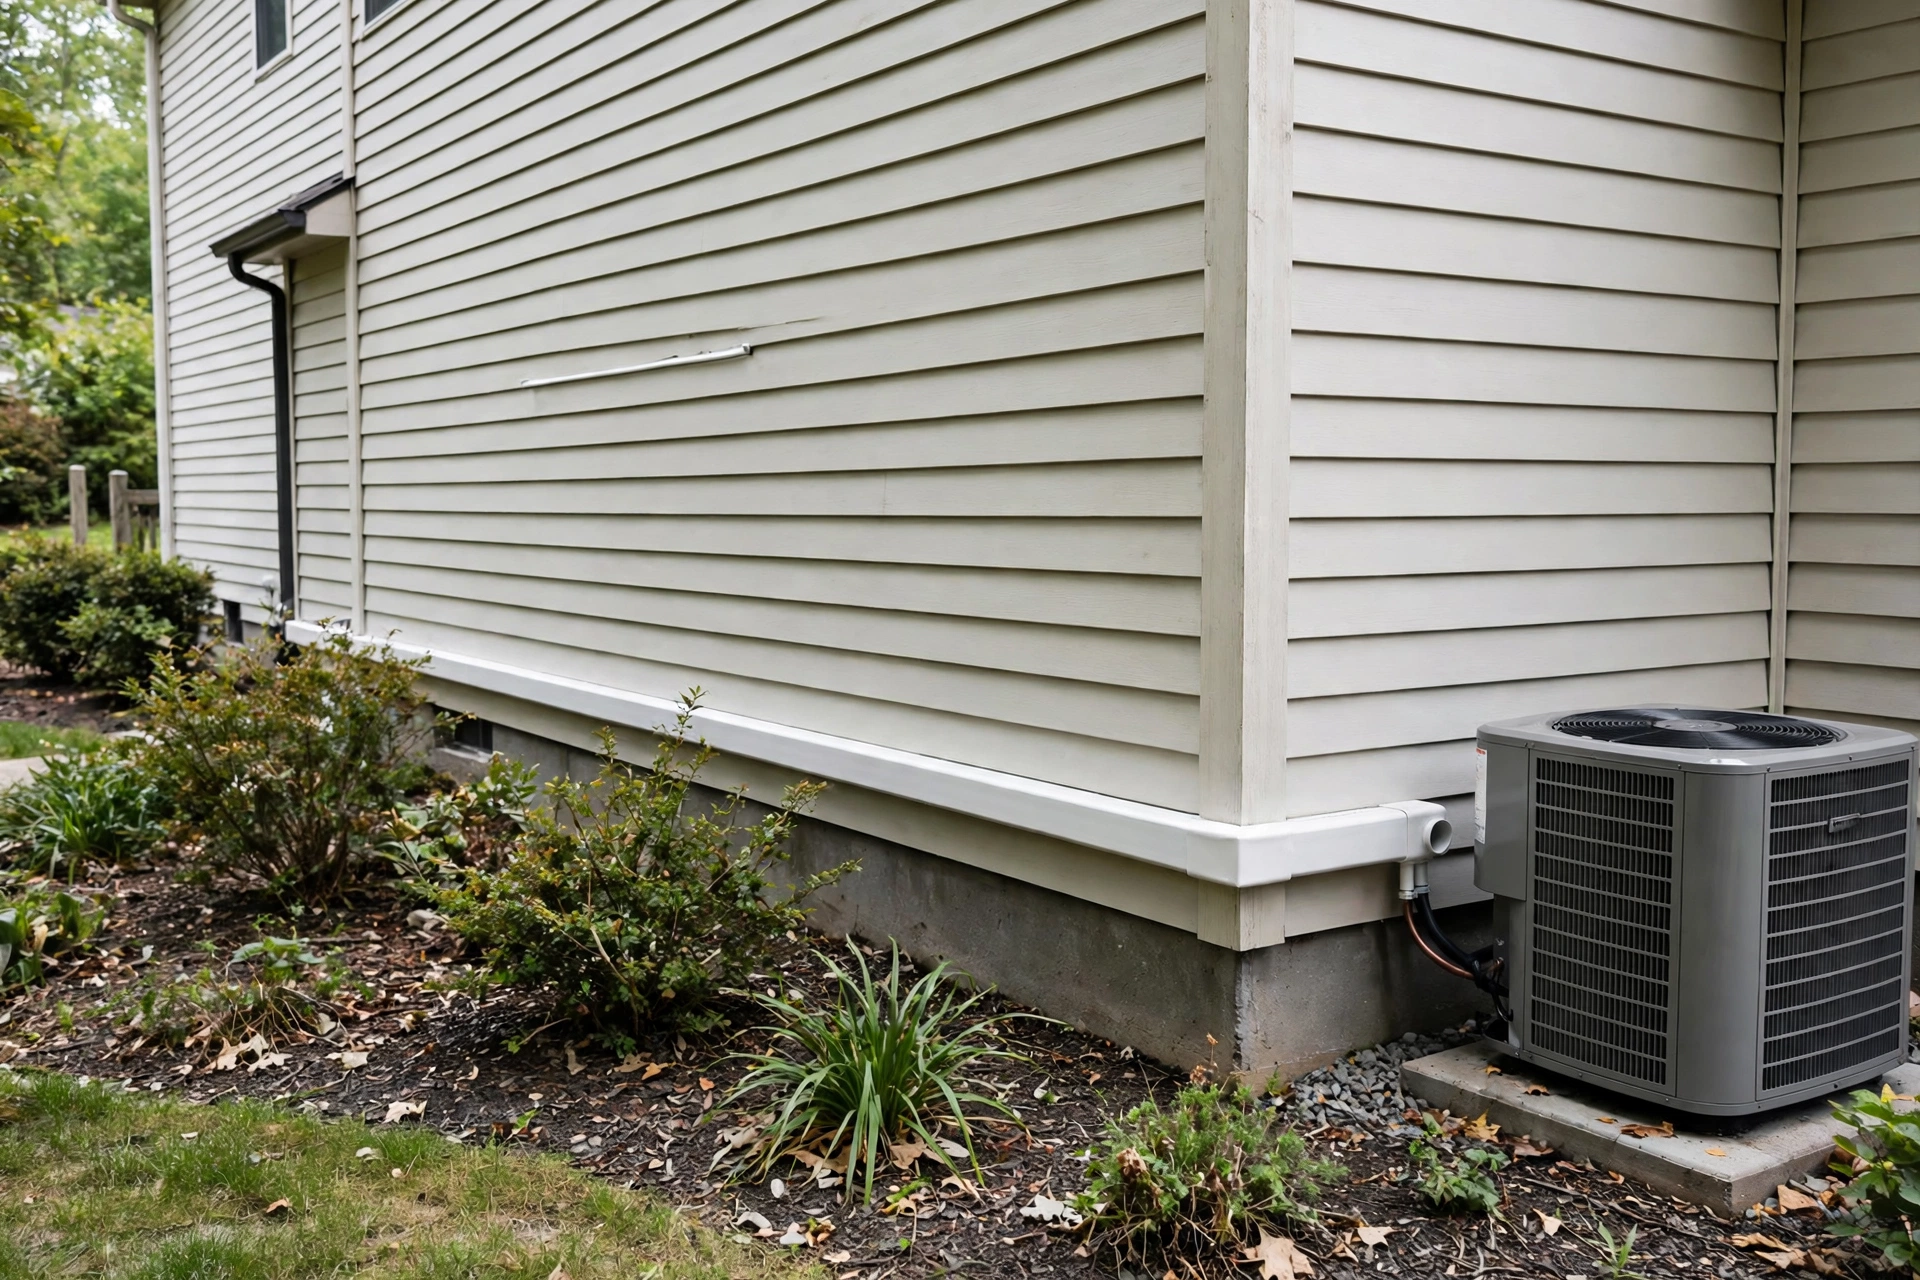
An outdoor air conditioner or heat pump rarely arrives alone. Beside it, a bundle of copper pipes, a condensate hose, and a power cable usually climbs the outside wall, often wrapped in foam insulation gone grey and crumbly in the sun. It works fine, but it looks unfinished, and on a freshly painted facade it can drag the whole house down.
The short answer: for most homes, the best way to conceal exterior refrigerant lines is a paintable, UV-resistant channel, often called a line set cover or line hide kit, mounted over the existing insulated lines and sealed at the wall. It hides the pipes, shields the insulation from sun and weather, and opens again for service. Hiding lines inside a wall cavity gives the cleanest look, but it is a much bigger job, usually only sensible during a renovation or new installation. Whatever route you choose, one rule never changes: never crush the insulation, never kink the copper, and never seal the lines away from a technician.
What Actually Runs Inside That Bundle on Your Wall
A typical line set between an indoor unit and an outdoor condenser or heat pump contains two copper refrigerant pipes. The larger suction line carries cool gas back to the compressor and is wrapped in foam insulation to stop condensation and heat gain. The smaller liquid line carries refrigerant out to the indoor coil and is often left bare, though manufacturers recommend insulating it on long runs or in very hot locations. Alongside the copper usually run a condensate drain hose and a low-voltage control cable, and on ductless mini splits the power cable may join them. Together the bundle is often two to four inches wide, which is why three- and four-and-a-half-inch channels are standard.
Each part of that bundle has a job, and ignoring one of them causes trouble. Compress the suction line insulation and the cold pipe sweats inside the cover, dripping down the wall. Block the condensate drain and water backs up indoors. Bury the flare connections and a slow refrigerant leak can go unnoticed for a season. Good concealment is therefore not just cosmetic: it protects the lines while leaving drainage and access intact.
Slim Surface Channels Versus a Built-In Chase: Picking Your Level of Concealment
Most homeowners choose between two broad approaches. A surface-mounted line set cover is a two-part PVC or metal channel: a base screwed to the wall and a snap-on lid. It installs over lines already in place, needs no wall surgery, and can be painted to match the facade: the sensible default for an existing system. A built-in chase, by contrast, hides the lines inside the wall, a soffit, or a false beam. It looks like there were never any lines at all, but it requires opening the wall, rerouting the pipes, and repainting afterward: work for a renovation, not a weekend.
Sizing the Channel So the Insulation Stays Fat and Dry
The most common sizing mistake is buying a channel that fits the bare copper but not the insulated bundle. Measure the full bundle at its fattest point, insulation, drain hose, and cables included, and add at least a quarter inch of breathing room. A standard single line set usually fits a three-inch channel, while a mini split bundle with a thick suction line and drain hose often needs the four-and-a-half-inch size. If the lid will not snap on without force, the channel is too small.
Measure the whole route, including every bend, and buy straight sections plus the fittings the route needs: a wall flange where the lines leave the house, a ninety-degree elbow for each turn, couplings, and an end cap at the outdoor unit. Kits commonly cover 7.5–12 feet. Also check service clearance: most manufacturers expect roughly two feet around the unit, so a cover that crowds it or blocks a service panel is a problem even if it looks neat.
Planning the Route: Corners, Slopes, and the Hole in the Wall
A good concealment job starts with a route, not a purchase. Walk the wall and choose the path with the fewest bends, the least direct sun, and the least contact with walkways and lawn equipment. Straight vertical runs look cleanest and drain best. Where the run must turn, use a proper elbow fitting.
Pay special attention to the wall penetration, the hole where the lines enter the house. It should be sleeved, sloped slightly outward, and sealed with low-expansion foam topped by exterior-grade silicone. The condensate drain must keep falling to its outlet; a drain that rises, even briefly, backs water up. If the drain cannot fall naturally, a condensate pump is the honest fix, not a creative loop of hose inside the cover.
- Keep the run short and straight, away from dryer vents and mower paths.
- Leave the outdoor unit’s service panels and airflow clear, and keep vegetation trimmed back.
- Have every fitting on hand before the first screw goes in.
Fitting a Snap-On Line Cover in a Single Afternoon
Installing a surface channel is genuinely a do-it-yourself job for a careful homeowner, because it does not touch the refrigerant circuit at all. You are building a housing around pipes that stay exactly where they are.
Inspect the lines first. Replace cracked or missing insulation with the correct size of closed-cell foam, tape the joints, and check the drain hose is intact.
Mark the route with a chalk line or level, keeping vertical runs plumb and horizontal runs level.
Cut the base sections to length and dry-fit every section and elbow before drilling anything.
Screw the base to the wall, using masonry anchors on brick or stone and exterior screws on siding, without piercing the lines.
Lay the lines into the base, keeping the suction and liquid lines separated, and snap the lid on section by section.
Fit the wall flange at the house entry and the end cap at the outdoor unit, then seal the top edge and joints with exterior silicone.
Two cautions: never disconnect, cut, or bend a refrigerant line to make a cover fit; if the lines sit wrong, that is a technician's job. And do not caulk the bottom of the channel shut: a small drainage path at the lowest point lets condensation escape instead of pooling inside.
Painting and Blending the Cover Into Brick, Stucco, and Siding
A white channel on a white wall disappears. On any other color it stands out, which is why painting turns a decent job into an invisible one. Most PVC covers are paintable, but paint sticks poorly to slick plastic, so wash the channel, scuff it lightly, and use a plastic-specific primer. Finish with exterior acrylic matched to the wall, in two thin coats, not one heavy coat that glues the lid shut.
On brick, match the mortar or dominant brick tone rather than faking individual bricks. On stucco, a slightly textured finish helps the channel read as part of the wall. On siding, align it with a board edge or corner board so it looks intentional. One warning: very dark paint on a south-facing wall can soften PVC in extreme heat, so in hot climates a mid-tone is wiser than near-black.
Where Concealment Goes Wrong: Kinks, Trapped Moisture, and Leaks Nobody Can See
Most failed concealment jobs fail in a handful of avoidable ways. Crushed insulation is the quietest: the system still cools, but the suction line sweats inside the cover and efficiency slips. A kinked copper line restricts refrigerant flow and can starve the compressor, so lines should never be bent to suit a cover's path. A cover sealed top and bottom with no drainage becomes a damp tunnel where insulation degrades and pests settle. The failure homeowners fear most is the hidden leak: flare joints can weep slowly, and a sealed cover can hide the oily residue and falling cooling performance until the system is badly undercharged. The defense is simple: leave flare connections accessible behind a removable section, and have the system checked yearly. If cooling weakens or ice forms on the lines, open the cover and call a technician. Concealment should hide the pipes from the street, never from the person who maintains them.
What Hiding Refrigerant Lines Costs, From a DIY Kit to a Full Chase
For a straightforward surface job, the numbers are modest. The figures below are planning estimates, not quotes; local labor rates and run length move them, and a multi-zone system needs more material.
The costliest mistake is buying twice: a channel that is too narrow, a kit without the right elbow, or a paint that peels in a season. Measuring the bundle, listing every fitting, and priming properly costs nothing and saves a repeat purchase. If an installer quotes concealment with a new system, ask whether the cover is included; line hide covers are frequently left out of base quotes.
Keeping Hidden Lines Serviceable Season After Season
A concealed line set still needs the same attention as an exposed one, plus one extra step: opening the cover. Once a year, pop the lid sections off and inspect the insulation, drain hose, and joints. Replace cracked or flattened insulation, re-tape joints with UV-resistant tape, and clear debris from inside the channel. Check the wall seal and drain. Keep shrubs off the channel, and record the line route and joint positions.
When the Job Belongs to an HVAC Technician, Not a Weekend DIYer
Covering lines is DIY-friendly. Moving them is not. Call a licensed HVAC technician if the lines need rerouting, a new wall penetration, recharging, leak testing, or relocating the outdoor unit. Refrigerant handling is regulated work: venting refrigerant is illegal in many jurisdictions, and a wrongly charged system can damage the compressor. Damaged copper, oil stains at a joint, or soaked insulation are symptoms, not cosmetic issues. Lines buried in a slab or sealed cavity cannot be inspected, and manufacturers generally advise against it, because a suspected leak then means opening the structure.
Refrigerant Line Concealment Questions Homeowners Ask Before Covering Up
Can I cover refrigerant lines without affecting how my air conditioner works?
Yes, provided the cover is sized so the insulation is not compressed, the lines are not kinked, and airflow around the outdoor unit is untouched. A cover is a housing, not a modification, so a correctly fitted one has no effect on cooling.
Do the lines need fresh insulation before the cover goes on?
Almost always, yes, and this is the cheapest time to do it. The suction line must be insulated along its full length with correctly sized closed-cell foam, joints taped. Cracked, missing, or UV-damaged insulation should be replaced before it is hidden.
Will a line cover trap moisture and cause mold on the wall?
It can, but only if sealed badly. A cover needs its top and joints sealed against wind-driven rain and a drainage path at its lowest point. Done right, the cover protects the wall by keeping the cold, sweating suction line off the surface.
Can I paint a PVC line set cover to match my house?
Yes. Wash it, scuff it lightly, prime with a plastic-specific primer, and finish with two thin coats of exterior acrylic. Avoid gluing the lid shut with heavy paint, and in very hot climates avoid near-black paint on sun-facing walls.
How do I hide refrigerant lines on a brick or stone wall?
Use masonry anchors for the base, and consider a metal channel or matching downspout shroud, which blend better on masonry than bright white plastic. Paint to match the mortar or brick tone.
What happens if a hidden line starts leaking?
A slow leak usually shows up as weaker cooling, ice on the lines, or oily residue at a joint. Open the cover and call a technician, and keep flare connections accessible behind a removable section. Never ignore a suspected leak: running low on refrigerant can damage the compressor.
Final Verdict: A Clean Exterior Wall That Still Lets a Technician In
Concealing exterior refrigerant lines is a rare home improvement that is cheap, quick, and genuinely transformative for curb appeal, as long as it is treated as protection rather than camouflage. Size the channel to the insulated bundle, keep the drain falling, seal the top and leave the bottom able to drain, paint it to match the wall, and keep the joints reachable. Do that, and the pipes vanish from the street while staying available to whoever services your system. Next step: measure the bundle at its fattest point, list every fitting the route needs, and replace tired insulation before the first lid snaps on.