A roof penetration flashing system is the layered assembly of metal flashing, sealant and gaskets that seals every hole cut through your roof — and on a modern home, the holes that matter most are the dozens of bolt points that hold solar panel racking and the openings where vent pipes and fans pass through the roof deck. When each penetration is flashed so water sheds over it instead of into it, the roof stays dry for decades; when even one is sealed with caulk alone, the leak that follows can rot decking, stain ceilings and void two warranties at once.
Every Bolt Hole Is a Bet Against the Rain
A roof is a waterproof skin, and every penetration is a deliberate break in that skin. A typical residential solar array needs four to twelve attachment points per row of panels, which means a single roof can carry forty or more bolt holes, each one driven through shingles and decking into a rafter. Ventilation adds more: plumbing stacks, bath fan terminations, ridge vents and attic fans all cut through the same surface. None of these openings is a defect — roofs are designed to have them — but each one is a point where gravity, wind-driven rain and freeze-thaw cycles all get a chance to push water inside.
The stakes are higher than a damp spot on a ceiling. Water that slips past a mount travels along the rafter and the underside of the decking, often surfacing metres from the actual hole, which makes the leak hard to trace and easy to misdiagnose. Left alone, it softens decking, feeds mould in insulation and can corrode the very fasteners holding the array. Flashing is the only defence that does not depend on a chemical sealant staying flexible, because metal does not dry out, shrink or wash away the way caulk does. That is why roofing codes and manufacturers treat flashing as the primary seal and sealant as the backup, never the other way around.
How a Flashed Solar Mount Actually Keeps Water Out
Water runs downhill, and a shingle roof works because each course overlaps the one below it, handing water from row to row until it reaches the gutter. A flashed mount joins that relay. The flashing plate is a thin sheet of aluminium or galvanised steel whose top edge slides up under the shingle course above the mount, while its lower edge lies over the course below. Rain flowing down the roof passes over the flashing exactly as it passes over a shingle, so the bolt hole beneath it never sees standing water. The bolt itself passes through the flashing into a pilot hole filled with sealant, and a rubber EPDM washer bonded to the bolt head presses down on the flashing to close the last gap.
The detail that separates a good installation from a leaky one is the lap. Manufacturer guides for common flashed mounts specify that the top edge of the flashing must sit under the third shingle course above the mount, regardless of shingle exposure, so that wind-driven rain cannot blow up under the plate. A mount flashed only under one course, or with its top edge left exposed, will hold in a light shower and fail in the first storm that drives rain uphill. Ask for photographs of the mounts before the panels cover them — once the array is in place, the flashing is invisible, and the only evidence of good work is the photo record.
| Flashing assembly | Best roof type | How it seals | Typical service life |
|---|---|---|---|
| Shingle-lapped aluminium flashing foot | Asphalt shingles | Plate woven under upper course, over lower course; EPDM washer under bolt | 20-25 years |
| Deck-mounted flashing with butyl gasket | Metal standing seam | Clamp or bolt through raised seam; butyl gasket compressed under foot | 25-30 years |
| Tile hook with flashing pan | Clay or concrete tile | Hook passes between tiles; metal pan sheds water beneath the tile | 20-30 years |
| Self-adhered membrane flashing | Low-slope and flat roofs | Peel-and-stick membrane wrapped up the curb and heat-welded | 15-20 years |
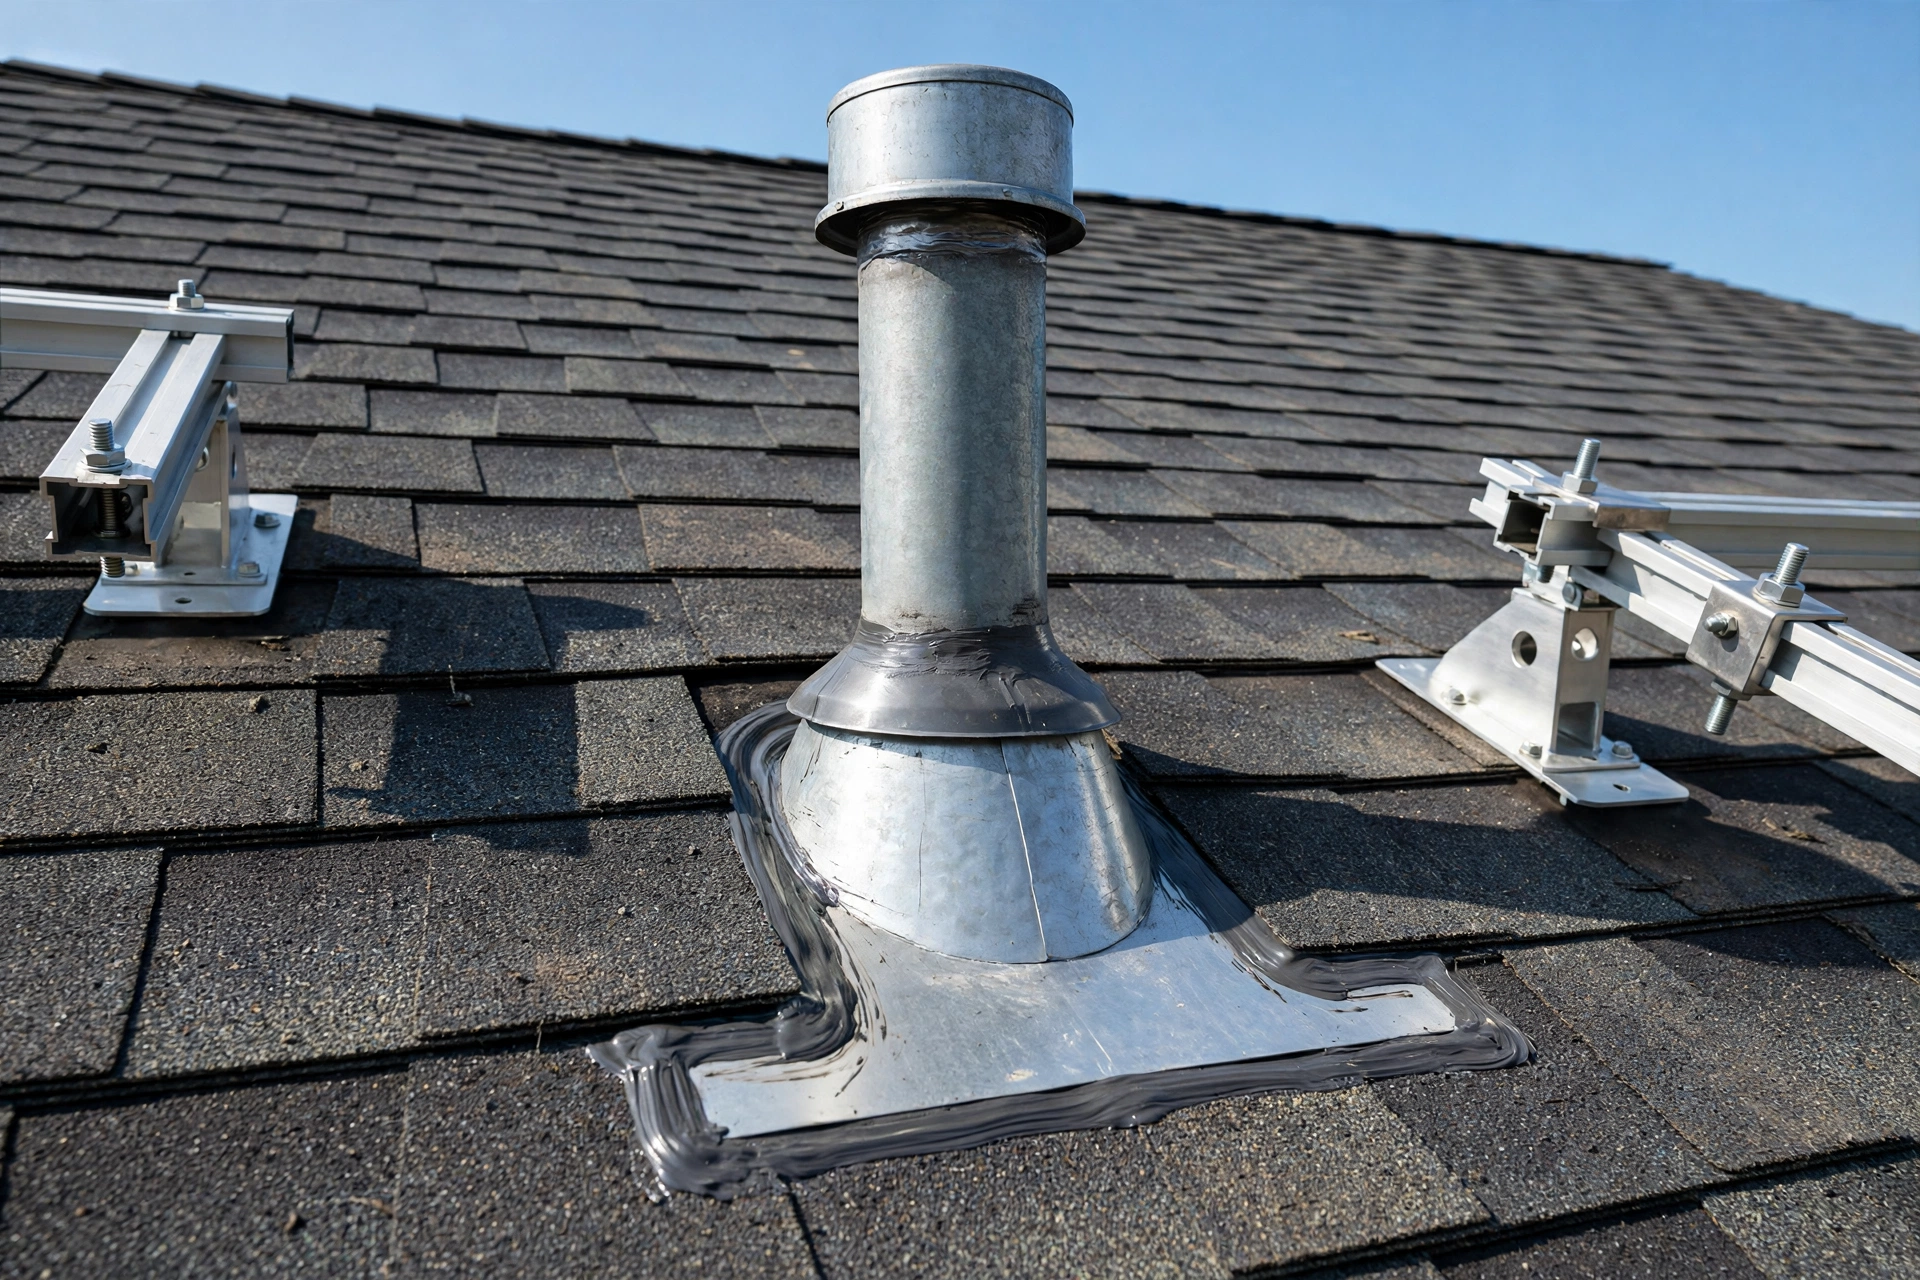
| Rubber pipe boot with metal base | Vent pipes on any pitched roof | Rubber collar grips the pipe; metal base laps under shingles | 7-10 years |
Service life varies with climate and exposure; rubber boots age fastest in hot, sunny regions and should be inspected on a shorter cycle than metal flashing.
Reading Your Roof Before a Single Panel Goes Up
The cheapest time to fix a penetration problem is before the solar crew arrives, because every mount they install inherits the condition of the roof beneath it. A roof with fewer than ten years of life left is a poor base for a twenty-five-year array: the panels will have to come off for re-roofing, and that removal and reinstallation often costs more than the original flashing work. Walk the roof, or have a roofer walk it, and look for the specific signs that the penetrations already on the roof are struggling.
- Lifted or curled flashing around chimneys, skylights and vent stacks, where wind has worked the metal free of its sealant bed.
- Cracked or split pipe boots, the rubber collars around vent pipes, which are the single most common penetration leak and often fail within seven to ten years in hot sun.
- Rust streaks or white corrosion running down from a mount or vent, showing that water is dwelling on the metal instead of shedding off it.
- Soft or spongy decking underfoot near any penetration, which means water has already reached the wood and the area needs repair before anything is bolted to it.
- Sealant smeared over old flashing as a patch, a sign that a previous leak was treated with caulk rather than with a proper flashing repair.
Any one of these findings is a reason to pause the solar schedule and get the roof right first. Replacing a pipe boot or re-flashing a chimney takes an afternoon and a modest sum; doing the same work under an installed array takes scaffolding, panel removal and a crew that charges for both. A roofer's pre-installation report also creates the paper trail that protects your roof warranty, because most shingle manufacturers will only honour a warranty claim if penetrations were flashed to their specification.
The Mounting Sequence That Leaves No Hole Behind
Good crews follow the same order on every mount, and the order matters because each step protects the one before it. First, the crew locates the rafters with a stud finder and marks them, then lifts the shingle course above the mount point so the flashing can slide underneath without tearing the shingle. A pilot hole is drilled through the decking into the rafter, and sealant is injected into the hole before the lag bolt goes in, so the sealant is forced into the wood fibres around the threads rather than sitting on the surface where sun and rain can wash it away.
Next the flashing plate is set in place with its top edge under the third course, the bolt is driven through the flashing and the EPDM washer is compressed evenly — not so tight that it splits, not so loose that it gaps. The shingle course is laid back down over the flashing, and a dab of sealant closes the nail holes made during lifting. Finally, the rail foot is attached and torqued to the manufacturer's specification, and the crew photographs the finished mount from two angles. A mount that skips the photo step is a mount you cannot verify later, so make the photo record a condition of the job before work starts, not a favour you ask for afterwards.
Vent Openings That Share the Roof With Your Array
Solar installers focus on the mounts, but the vent openings already on the roof deserve the same attention, because a new array changes the way water and wind move across the surface. Panels slow the wind over the roof and create shaded, cooler zones where moisture lingers longer after rain, which means a marginal pipe boot that survived for years can start leaking once the array is in place. Before installation, every vent penetration within and around the array footprint should be inspected, and any boot older than five years should be replaced as part of the same job.
- Plumbing vent stacks — replace cracked rubber boots with a metal-base boot or a silicone boot rated for the roof's temperature range.
- Bath and kitchen fan terminations — check the damper and the flashing collar, and confirm the duct actually vents outside rather than into the attic.
- Attic and ridge vents — confirm the vent is not buried under a panel rail, which would choke airflow and trap moisture in the roof deck.
- Conduit and wiring penetrations — seal the hole where solar wiring enters the roof with a flashed junction box, never with a bare cable gland and a bead of caulk.
Coordinating the vent work with the solar installation also avoids the most common scheduling clash in roofing: two trades cutting holes in the same roof in the same week without talking to each other. Ask the solar contractor, in writing, who is responsible for the vent flashings that fall inside the array footprint, and get the roofer to sign off on the finished penetrations. That single clarification prevents the familiar argument where the solar company blames the roofer and the roofer blames the solar company while water drips into the hallway.
When a Flashed Roof Still Leaks: Tracing the Real Entry Point
Even a well-flashed roof can leak, and the most useful skill a homeowner can develop is tracing the water back to its actual entry point instead of patching the stain on the ceiling. Water follows gravity and the path of least resistance, which usually means it runs down a rafter or along the underside of the decking before it finds a gap to drip through. The stain you see in the living room is often metres downhill from the hole that let the water in, and sealing the ceiling does nothing at all.
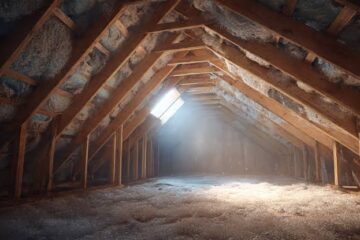
Start in the attic during or just after rain, with a torch, and look for the highest wet point on the decking and rafters. A leak at a solar mount shows as a damp ring around the bolt or a wet streak running down from a flashing plate. A failed pipe boot shows as staining around the pipe where it passes through the deck. Once you have the highest wet point, mark it, then check the roof surface directly above and uphill from it. Never assume the first suspect is the culprit — check every penetration uphill of the stain before you start resealing, or you will fix the wrong one and watch the stain come back with the next storm.
| What you see inside | Likely entry point | First check | Fix |
|---|---|---|---|
| Damp ring around a ceiling fixture | Solar mount bolt uphill of the room | Attic: wet streak on the rafter above the stain | Re-flash the mount; replace washer and sealant |
| Stain spreading from a vent pipe | Cracked rubber pipe boot | Roof: splits or gaps in the boot collar | Replace the boot; do not caulk over the split |
| Wet insulation near the ridge | Ridge vent or panel rail blocking airflow | Attic: condensation on the deck underside | Restore vent airflow; check rail clearance |
| Drip after wind-driven rain only | Flashing lapped the wrong way | Roof: top edge of flashing exposed, not tucked under | Re-lap flashing under the course above |
If the highest wet point is not near any penetration, the cause may be a failed valley or a damaged shingle field rather than a flashing problem.
Solar Flashing and Vent Penetration FAQs
Do solar panels cause roof leaks?
Solar panels do not cause leaks when the mounts are flashed correctly, because each bolt hole is sealed by a metal flashing plate lapped under the shingles above, sealant in the pilot hole and a rubber washer under the bolt.
How long does roof flashing last around a solar mount?
Metal flashing around a solar mount typically lasts twenty to twenty-five years, roughly the life of the array itself, when it was installed with the correct lap on a sound roof. Rubber pipe boots age faster and often need replacement within seven to ten years in hot, sunny climates, so inspect them on a shorter cycle than the metalwork.
Can sealant alone waterproof a roof penetration?
No. Sealant is a backup that fills small gaps and beds flashing edges, but it degrades under sunlight, shrinks as it cures and loses adhesion as metal expands and contracts. A penetration sealed with caulk alone will usually leak within a few seasons.
Should vent pipes be re-flashed when solar panels are installed?
Yes, any vent penetration inside or near the array footprint should be inspected before installation, and boots older than about five years should be replaced in the same job. Panels change wind and shade patterns on the roof, which can make a marginal boot start leaking, and replacing it later means removing panels to reach it.
Who is responsible if a solar roof leaks — the roofer or the solar company?
It depends on the cause and the paperwork. The solar company is usually responsible for leaks at its own mounts, while the roofer owns pre-existing roof defects. Disputes arise when neither accepts the cause, so get the roofer's written approval of the roof, the installer's written flashing specification and a photo record of every mount before the panels go on.
Final Thoughts: A Dry Roof Starts at Every Bolt Hole
A solar array is one of the best investments a home can carry, but it asks the roof to do something new: hold dozens of bolt holes watertight for a quarter of a century. That is entirely achievable with the right flashing system, the correct lap, a gasket that is compressed rather than crushed, and a photo record that proves the work was done. The cost of doing it properly is a small fraction of the array itself, and the cost of doing it badly is a ceiling stain, a rotted deck and an argument between two contractors. Flash every penetration as if the roof's life depends on it — because it does.