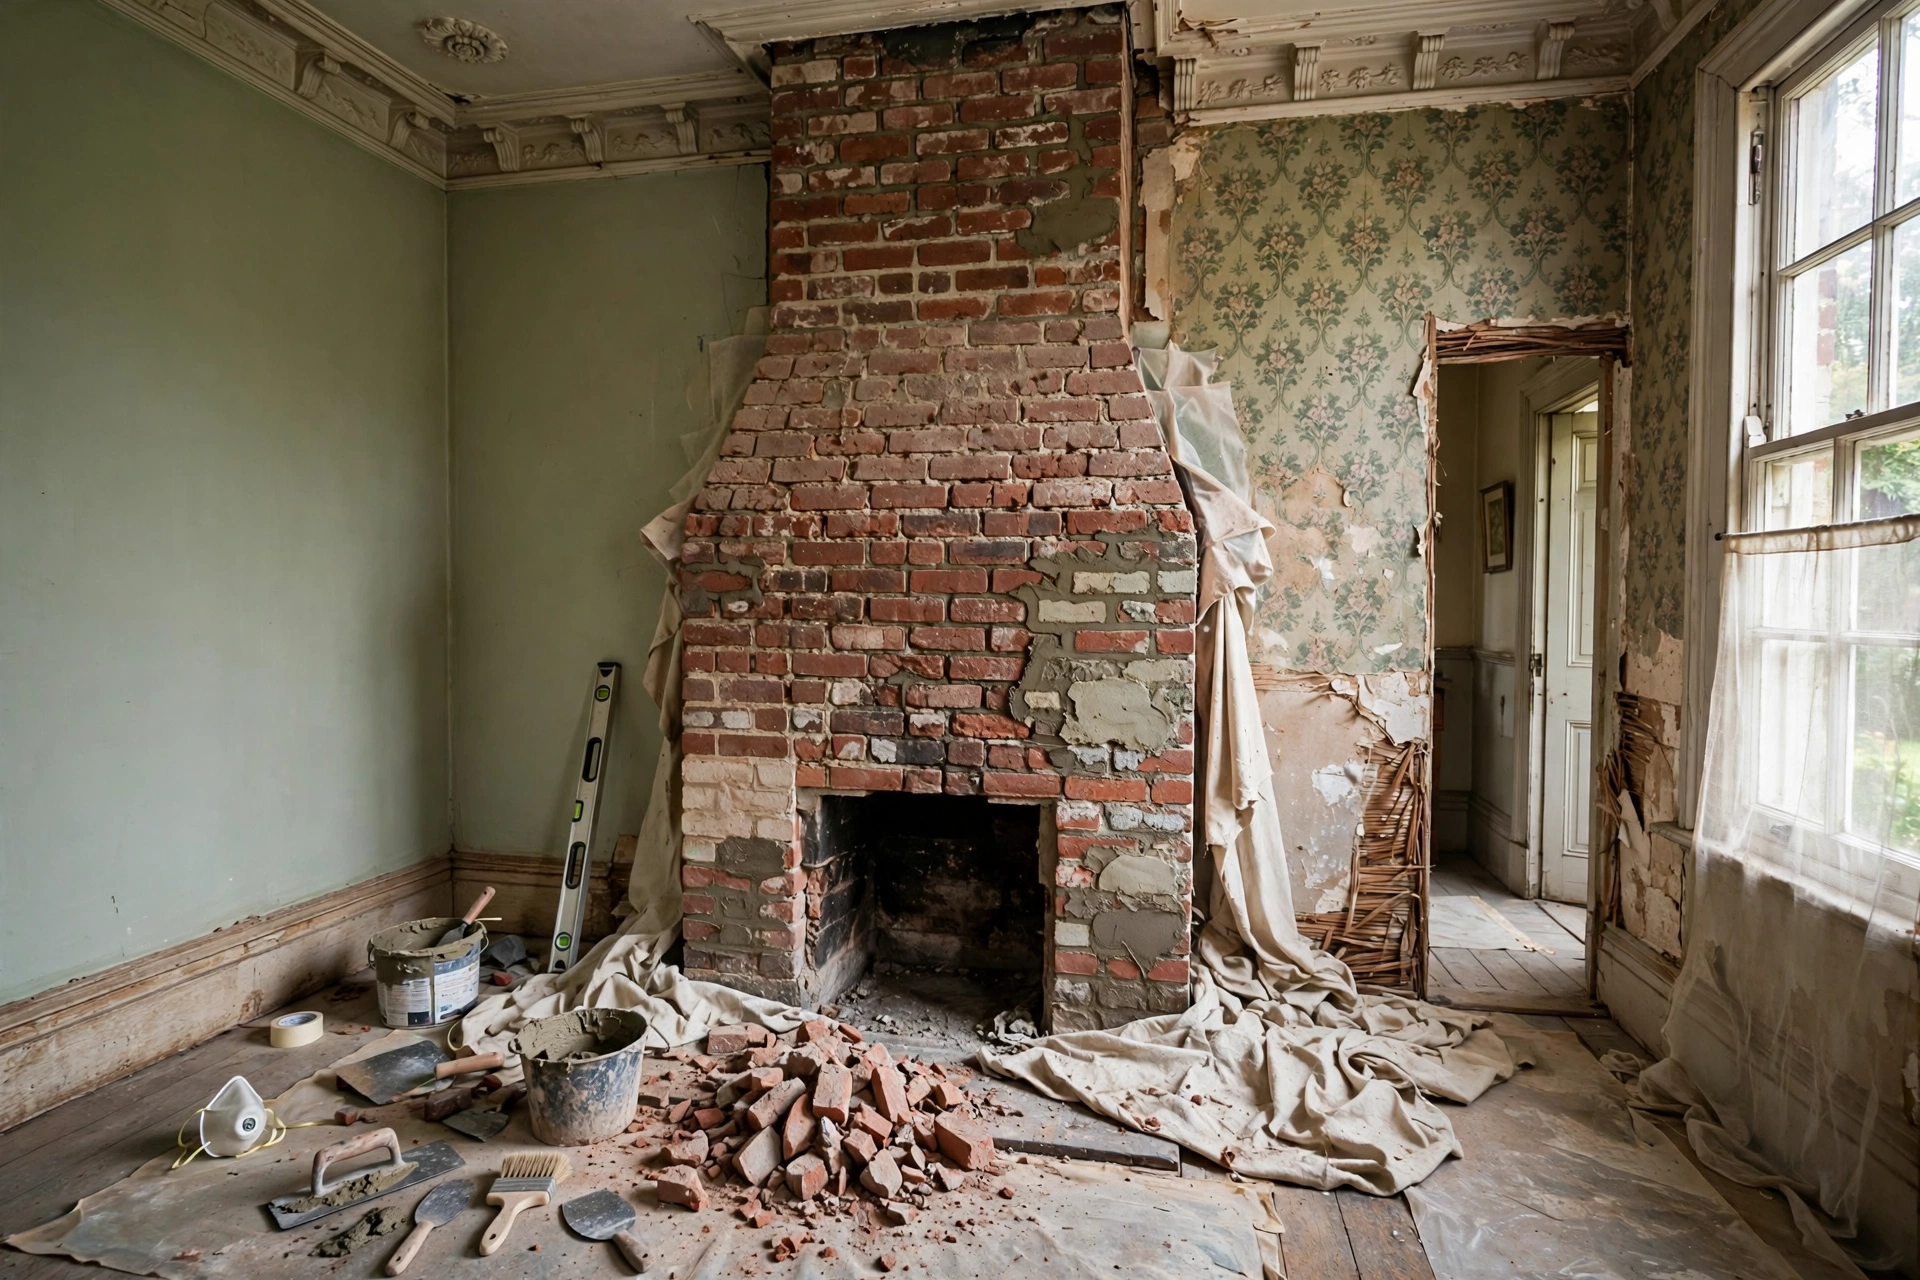
The chimney breast — the pier of brickwork projecting into a room to carry a fireplace flue up through the house — is often the visual anchor of a period living room or bedroom. In Victorian terraces, Edwardian semis and 1930s houses it framed the fire that heated the home. Today many are blocked up or damp-stained, and proper restoration takes more than fresh paint: get the building science right first, and the character follows.
- The short answer: successful old house chimney breast restoration follows a fixed order — check the masonry is supported, fix damp at its source, ventilate any disused flue top and bottom, strip cement or gypsum plaster to sound brick, repoint or replaster in breathable lime, then restore the fireplace opening or fit a stove, finished with limewash or clay paint. Building work first, decorating last: that order keeps the breast dry, safe and handsome for decades.
What a Chimney Breast Is — and Why Old Ones Fail
A chimney breast is the visible indoor part of the chimney: the projecting masonry containing the flue (the smoke channel) and, at its base, the fireplace opening. Above the roof it becomes the stack. In older houses the whole mass was lime-mortared and worked because regular fires kept the flue dry while lime breathed. Failures break that system: blocked flues with no ventilation trap condensation; cement and gypsum trap moisture; hygroscopic salts from old soot pull damp from the air; partially removed breasts lack support; leaking flashings send rain down the structure. Each needs a different fix — diagnosis before decoration.
Start With a Proper Assessment
Assessment checklist — an hour here can save thousands later:
- Structural support: Has any part been removed? A breast remaining above a removed section needs proper support — gallows brackets or a steel beam from a structural engineer. Look for cracking or bulging.
- The stack above: Check the loft where the chimney passes through for staining, and outside check flashings, flaunching and pots — water entering at the top travels down.
- Damp mapping: Flue-line staining usually means soot salts or condensation; low tide marks can mean rising damp or high ground levels.
- Flue status: Open, blocked or capped? A disused flue needs a bottom vent and a ventilated cowl or cap at the top — one without the other traps moisture.
- Hidden services: Old breasts often hide gas pipes or cables chased into the plaster. Check before cutting or drilling.
- Fireplace history: Tap the blocked opening — hollow suggests boarded-up, a dull thud means bricked up. Assume decades of soot behind it.
- Professional help: Unsupported masonry, significant cracking or a leaning stack — call a surveyor or structural engineer first.
Fix Damp and Salts Before Anything Cosmetic
Most failed restorations die at this stage: paint hides damp for a season, then it returns worse. Match your symptom to the cause below, fix the source, then think about finishes.
Sequence matters. Ventilate every disused flue top and bottom — a sealed chimney can take months to dry. Sweep the flue, since soot feeds hygroscopic salts. Hack contaminated plaster to sound brick and let the wall dry (about one month per inch of masonry). Replaster with a breathable lime system — a traditional 4:1 sand-to-hydraulic-lime specification — finished with limewash or clay paint. Never gypsum or cement on old chimney masonry: gypsum soaks like blotting paper then crumbles, and cement traps moisture and drives damp higher.
Restoration Idea 1: Open Up the Original Fireplace
Bringing the original opening back is the single biggest character win. Messy, but straightforward done carefully.
Prepare the room. Clear furniture, dust-sheet everything, roll back carpets. Mask and goggles on.
Look inside. Remove the air vent (usually above the skirting); torch in to size the original opening and check for rubble or nests.
Tap-test the infill. Hollow = boarded over; solid = bricked up. Mark out the fireplace or insert you plan to fit.
Drill a pilot hole in the centre, chip plaster around it to expose brickwork and find the original lintel or arch — that is your stopping line.
Remove the infill with hammer and chisel, not a breaker. Angle the chisel downward: lime mortar is strong in vertical compression but weak against sideways blows, and you must not loosen surrounding brickwork.
Check the opening. Keeping the original size with a sound arch or lintel? Stop at the original building line. Want it bigger? You need a new lintel — structural work (see safety section).
Sweep and inspect. No fire is lit — and no stove fitted — until the flue is professionally swept and checked for blockages or damage.
Reclamation yards are the best source for period fireplaces: cast-iron inserts, marble or timber surrounds and register grates at a fraction of reproduction prices. Measure the opening first, and match the piece to the house's era.
Restoration Idea 2: Fit a Wood-Burning Stove or Create an Inglenook
A modern Ecodesign stove set into the opened fireplace is hugely efficient next to an open fire, and keeps the same focal point. For more drama, enlarge the opening with a new lintel to form an inglenook — a deep recess with the stove inside, often an oak beam across the top and the chamber left as exposed brick.
Stove work is regulated: under Building Regulations Approved Document J the hearth must be correctly sized and built, the flue lined (typically a flexible liner with a closure plate), and clearances to combustibles must follow the manufacturer's instructions. Use a HETAS-registered installer who can self-certify, and fit a carbon monoxide alarm. Keep the air vent clear — a starved stove is a dangerous stove.
Restoration Idea 3: Expose and Repoint the Brickwork
One honest caveat: not all chimney bricks were meant to be seen — internal brickwork was often rougher than facing brick. Test a discreet patch first. To expose the breast, strip plaster with a downward-angled chisel, rake out perished mortar to 10–15 mm, wash the joints and repoint in lime matched like-for-like — never cement, which is too hard and traps moisture in softer brick. Pack firm, finish joints slightly recessed. A full breast usually needs the whole surface repointing. If the brick disappoints, limewash gives a soft chalky finish that still breathes.
Restoration Idea 4: Lime Plaster for a Soft Period Finish
A lime-plastered breast is the most sympathetic smooth finish and forgiving of old-house movement: a three-coat system (scratch, float, finish), sometimes with hair or fibre in the base coats, on dampened brickwork. It needs a plasterer who knows lime, but the result moves with the building instead of cracking. Decorate breathably only — limewash, clay paint or mineral silicate paint. Vinyl emulsion is an impervious skin; the damp just migrates sideways or blisters the paint within a year or two.
Restoration Idea 5: Make the Alcoves Work Hard
The recesses flanking the breast are prime storage: shelving, cupboards or a reading nook draw the eye to the breast. Never box in the flue's air vent when fitting joinery; the two sides need not match — a shelf one side, cupboard the other looks deliberate in a shared colour family; on working-fireplace walls, anything within the manufacturer's clearances must be non-combustible.
Restoration Idea 6: Decorative and No-Flue Options
Not every breast should take a real fire. A reclaimed cast-iron insert, a neat log stack, or candles (never unattended) give hearth presence without touching the flue. Where the chimney is unusable, an electric inset stove or shallow media-wall frame works. A blocked flue still needs top-and-bottom ventilation — decoration never justifies sealing it.
Common Mistakes That Ruin Chimney Breast Restorations
- Cement render. Traps moisture and drives damp higher — a leading cause of recurring chimney breast damp.
- Gypsum plaster. Behaves like blotting paper on damp masonry: soaks, stains, crumbles. Use lime.
- Vinyl paint. An impervious skin that moves moisture sideways or blisters off.
- Capping a flue with no ventilation. A flue needs air at bottom and top; sealing either end traps condensation.
Removing masonry without support. Masonry above a removed section needs engineered support — gallows brackets or a steel beam.
Enlarging an opening without a proper lintel. Heavy masonry above needs correct support and building control sign-off.
Skipping the sweep. Never light a fire or fit a stove in an unchecked flue — blockages, nests and damaged liners are common.
Stain block instead of a real fix. It confirms the contamination pattern but does not cure hygroscopic salts; strip and replaster in lime.
What Does Old House Chimney Breast Restoration Cost?
Costs vary by region, access and surviving fabric — treat these as rough budgeting estimates, not quotes. Get two quotes for structural work.
DIY opening-up and limewashing cut cosmetics to materials-only, but structural work, stoves and gas stay with qualified trades — the saving is never worth the risk.
Safety and When to Call a Professional
- Structural engineer: partial removals, significant cracking, bulging masonry, leaning stacks.
- Building control: new lintels, enlarged openings and breast removal need approval.
- HETAS-registered installer: any stove installation and flue lining.
- Gas Safe engineer: gas fires or pipework.
- Party Wall Act: shared stacks need proper notice under the Party Wall etc. Act 1996.
- Asbestos check: pre-2000 houses can hide asbestos in old fire cement or rope seals — survey first if in doubt.
- Chimney sweep: before first lighting, and annually for working flues.
- Carbon monoxide alarm: in any room with a solid-fuel or gas appliance; test regularly.
- Lead paint: old surrounds may carry it — take precautions with children in the house.
Final Thoughts
A chimney breast rewards patience and punishes shortcuts. Work in order — assess, fix moisture at source, ventilate, strip back, rebuild in breathable materials, then restore the opening and decorate — for a wall that is dry, safe and full of character. Next step: book a chimney sweep and a damp inspection before spending on finishes. Their findings will show exactly which ideas above your breast is ready for.
Frequently Asked Questions
Should I open up a blocked fireplace in an old house?
Usually yes, if flue and stack are sound — it restores the room's focal point and can add value. Tap-test the infill, find the original lintel or arch, and have the flue swept and inspected before committing to a fire or stove. If the stack was removed above the roof, budget for the flue work to make it usable again.
Why is my chimney breast damp when the flue is blocked?
Usually condensation trapped in the unventilated flue, plus hygroscopic salts from old soot drawing moisture from the air. Every disused flue needs bottom and top ventilation. If damp persists after venting and sweeping, strip the contaminated plaster to brick and replaster in lime.
Can I use normal plaster on a chimney breast?
Standard gypsum plaster is a poor choice for old chimney masonry — it absorbs moisture and breaks down. Use a breathable lime-based system and finish with limewash or clay paint. Keep gypsum for modern dry walls that stay reliably dry.
Do I need permission to alter a chimney breast?
Cosmetic work and opening a blocked fireplace within its original opening generally need no permission, but removing a breast, enlarging an opening or fitting a new lintel needs building control approval. In listed buildings or conservation areas, check with the local planning authority — and the Party Wall Act if the stack is shared.
Is it safe to remove a chimney breast?
It can be, but it is structural work, not weekend DIY. Masonry above needs proper support — gallows brackets or a steel beam from a structural engineer — plus building control sign-off. It is extremely messy, and losing original features can dent a period home's value.
Can I expose the brick on my chimney breast?
Often yes — but test first, since internal bricks can be rougher than facing bricks. Hack off a small patch, rake out loose mortar and repoint in lime. If it disappoints, limewash gives a soft period finish that still breathes.
How long does a restored chimney breast take to dry out?
Longer than expected: about one month per inch of masonry after the moisture source is fixed — and only once leaks are repaired and the flue ventilated. Never rush decorating; paint on damp masonry blisters or peels.