A recessed shelf turns the empty space inside your wall into storage, without taking any floor space. It suits a narrow hallway, a bathroom wall beside the mirror, or a living-room wall where a protruding shelf would get in the way. Done well, it looks as if it was always part of the house.
Here is the direct answer for a beginner: build a single-bay shelf that fits entirely between two existing studs, in an interior, non-load-bearing wall, after checking the bay for wiring, plumbing, ducts, and fire blocking. Do not cut a stud. Cut only the drywall between the studs, add blocking at the top and bottom, slide in a shallow box, and finish it flush with the wall.
What a Stud-Bay Recessed Shelf Gives You, and What It Cannot Hold
Think of a recessed shelf as a shallow niche, not a cabinet. In a standard 2×4 wall, the cavity is about 3.5 inches deep. That fits paperbacks, small plants, spice jars, folded washcloths, candles, picture frames, and most toiletry bottles. It does not fit large books at full depth, deep baskets, or bulky towels.
The appeal is the clean, built-in look. Because nothing projects into the room, the shelf works where a normal shelf would catch shoulders or crowd a counter. A painted back panel or contrasting trim can turn plain wall into display space. The trade-off is dust, patching, and painting, even on a tidy job, and a size fixed by the framing once it is in.
Reading Your Wall: Stud Spacing, Cavity Depth, and the Right Bay for Recessed Shelves
Most homes have studs spaced 16 inches apart from centre to centre, although 24-inch spacing is also common. The clear space between studs is smaller, because each stud takes up about 1.5 inches. In a 16-inch bay, that leaves about 14.5 inches clear; in a 24-inch bay, about 22.5 inches. Measure the actual bay, since the finished opening will be narrower still once the box and trim go in.
Depth follows the same logic. A nominal 2×4 measures about 1.5 by 3.5 inches after milling, so a standard cavity gives roughly 3.5 inches of rough depth. A 2×6 wall offers about 5.5 inches, which is more forgiving for bottles and folded items. In either case, the finished depth is slightly less once the back panel is in. If you need deeper storage, choose a shallow cabinet instead.
Where a Between-Studs Shelf Belongs in Each Room of Your Home
In a bathroom, the best bay is usually beside the vanity or facing the mirror, at a height you can reach without stretching. Avoid a shower wall for a first project, since it needs waterproofing and tile work. A dry bathroom wall is a far kinder place to learn the technique.
Gathering Tools and Materials for a Flush, Built-In Recessed Shelf Box
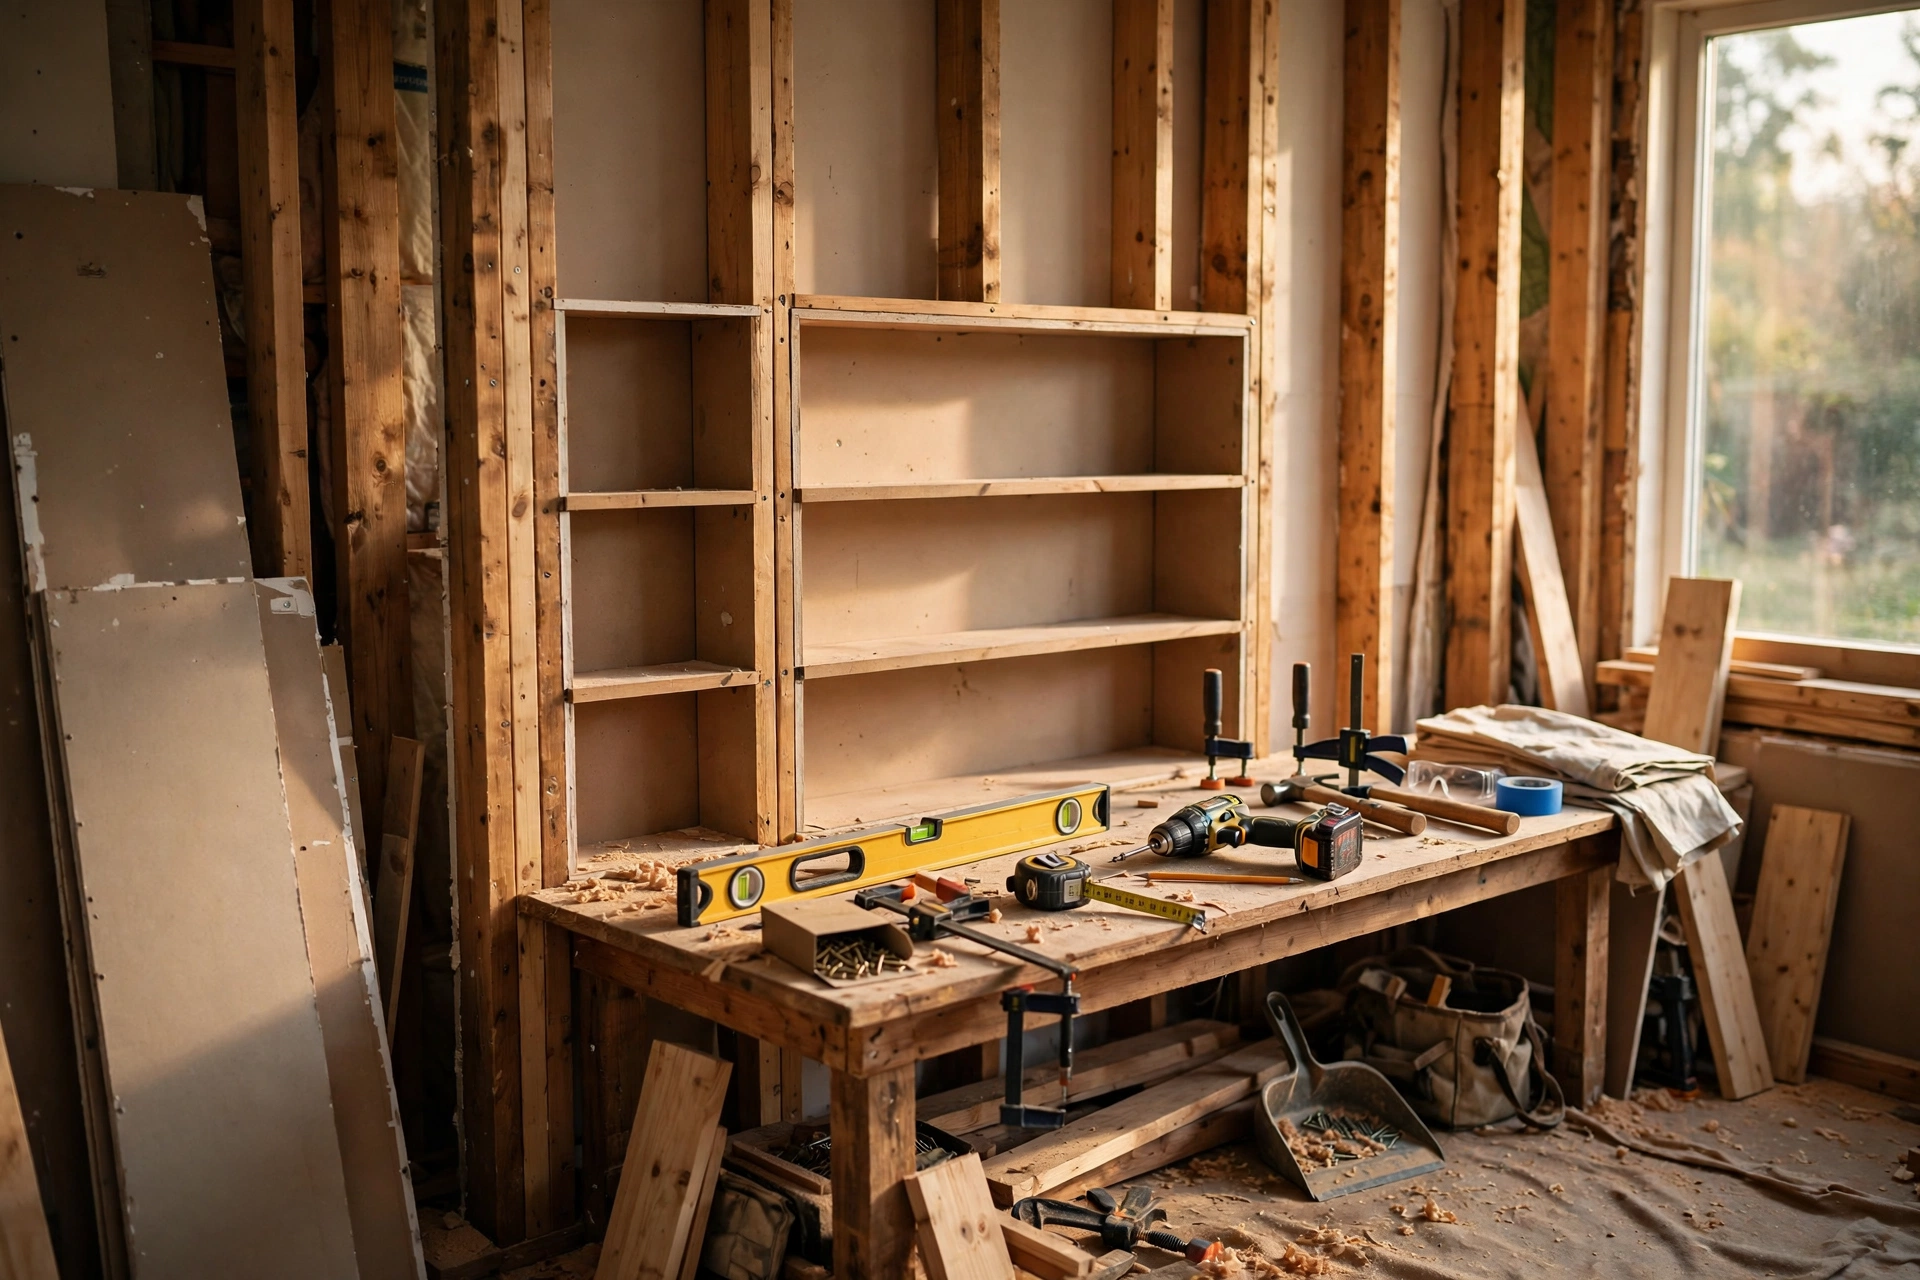
You need a reliable stud finder, ideally one that also detects live wiring, plus a long level, pencil, painter's tape, utility knife with fresh blades, drywall saw or oscillating tool, tape measure, drill and driver, a saw for blocking and plywood, and safety glasses, a dust mask, and gloves.
For materials, allow a short length of 2×4 for header and sill blocking, half-inch or three-quarter-inch plywood or fibreboard for the box, a thinner back panel, glue, screws, trim, filler, paintable caulk, sandpaper, and paint. A pre-made insert for a standard bay can replace a scratch-built box. As a broad materials-only estimate, a simple single bay often costs roughly forty to one hundred and fifty dollars, depending on size, trim, and local prices.
Mapping Studs and Checking a Stud Bay for Wiring, Pipes, and Fire Blocking
Never rush this step, since everything after it depends on a bay that is genuinely clear. Scan slowly with the stud finder and mark both edges of each stud, not just the centre, since finders can be fooled by plaster or nearby metal. Confirm by tapping the wall, and look for outlets, switches, and vents, which often signal wiring or ductwork nearby.
- Mark both edges of the two studs that will flank the shelf.
- Mark the opening with a level, tight against the inside stud faces.
- Check both sides of the wall for outlets, switches, and vents.
- Cut a small inspection hole and look inside with a torch or camera.
- Look up and down the bay for wiring, plumbing, ducts, and fire blocking.
- If anything unsafe is found, choose another bay or seek professional advice.
Cut the inspection hole small enough to patch easily if you abandon the bay. Horizontal fire blocking, a short timber fitted between studs partway up the wall, is common and may simply mean a shorter shelf above or below it. Never cut through blocking, wiring, or pipework to make room. Moving one bay sideways is a minor inconvenience; cutting a live wire or water pipe is not.
Cutting, Framing, and Fitting the Recessed Shelf Box Flush With the Drywall
Mark the final opening with a level, keeping side cuts tight against the inside faces of the studs. Score with a utility knife, then deepen the cut with a drywall saw or oscillating tool, keeping the blade shallow. Ease the panel out in one piece where you can, vacuum the cavity, and remove protruding nails. Check the opening is square by measuring diagonally both ways, and trim it before framing if needed.
Cut two 2×4 pieces to fit snugly between the studs: a header at the top and a sill at the bottom. Measure each in place, since studs are rarely parallel, and set them flush with the stud faces. Level each piece, then fix it with at least two screws through each stud into each end. If the header or sill is tilted, every shelf in the box will be tilted too.
Build the box outside the wall, slightly smaller than the measured opening, by roughly a quarter of an inch on each side, so it slides in with room for shims. Use plywood or fibreboard for the sides, top, bottom, and shelves, with a thinner back panel, glued and screwed together. Check the box is square before the glue sets. For adjustable shelves, drill pin holes in the sides before assembly, using a jig so both sides line up.
Slide the box in and shim it level and plumb, with its front face flush with the drywall, neither proud of the wall nor sunk behind it. A proud box makes trim awkward, while a deep-set box casts a shadow. Then screw through the sides into the studs and through the top and bottom into the header and sill, keeping screw heads just below the surface for filling later.
Trimming, Filling, and Painting Recessed Shelves So the Cut Edges Disappear
Trim turns a hole in the wall into a built-in feature. It hides the raw drywall edges and the joint between box and wall, and gives the eye a clean frame. Use mitred casing for a picture-frame look, or square-cut flat stock for a plainer, modern style. Dry-fit each piece first, since a mitre that looks right on the bench can gap against an uneven wall.
Fix trim with finishing nails, set the heads below the surface, and fill every nail hole and small gap. Caulk the trim-to-wall joint with paintable caulk, smoothed with a damp finger. Once dry, sand lightly, prime bare wood, filler, and fresh drywall edges, then apply two thin coats of paint, sanded lightly between coats. One thick coat almost always looks worse than two thin ones.
Recessed-Shelf Slip-Ups That Leave a Crooked, Gappy, or Overloaded Niche
Most failures are predictable. Skipping the inspection hole means discovering wiring or blocking only after the full opening is cut. Trusting one stud-finder reading can produce an off-centre opening. Building to the planned size, rather than the measured size, leaves a box that will not fit or rattles loosely. Measure the real opening, allow a small fitting gap, and dry-fit before fixing anything permanently.
Safety Limits and When a Recessed Shelf Between Studs Needs a Professional
A single-bay shelf is a reasonable beginner project because it does not alter the wall's structure. That logic stops the moment a stud must be cut. In a load-bearing wall, which carries weight from above, cutting a stud without proper support can compromise the structure. Stop and get advice from a qualified builder or structural engineer, who can specify a header and supports if a wider opening is feasible.
The same caution applies to hidden services. If you find live wiring, gas or water pipework, or a duct that cannot be avoided by choosing another bay, do not move it yourself unless qualified. Also seek advice for exterior walls with insulation and a vapour barrier, walls forming a fire separation, such as between a garage and living space, or any work your local building authority says needs a permit or inspection. Rules vary by location, so check when unsure.
Final Thoughts on Adding Recessed Shelves Between Wall Studs for Beginners
A recessed shelf looks far more advanced than it is, provided you respect the wall you are working with. Choose a clear single bay in a non-load-bearing interior wall, check it properly, frame it square with header and sill blocking, and fit a shallow box flush with the drywall. Keep contents light and slim, finish the trim carefully, and the result will feel built into the house. Start with one shelf, in a room where a mistake is easy to fix, and let that success teach you how your walls are framed.
Recessed Shelves Between Wall Studs: Beginner Questions Answered
Can I add a recessed shelf between wall studs if I have never cut into a wall before?
Yes, if you keep to a single bay between existing studs in an interior wall and check the bay first. You need to measure accurately, cut drywall slowly along marked lines, and fit a small box level and flush. If structure, wiring, or plumbing is involved, pause and ask a professional instead.
How wide can my recessed shelf be without cutting a stud?
Width is set by the clear space between studs: about 14.5 inches where studs are 16 inches on centre, and about 22.5 inches where they are 24 inches on centre. The finished opening is slightly narrower once box and trim are in, so measure the actual bay. Anything wider needs structural framing and is not a beginner variation.
How deep will a recessed shelf in a standard 2×4 wall actually be?
Roughly 3.5 inches at the framing stage, slightly less once the back panel is in. A 2×6 wall offers about 5.5 inches. That suits paperbacks, spice jars, small plants, and toiletry bottles. For deep boxes or bulky towels, choose different storage instead.
What should I do if I find wiring, plumbing, or fire blocking inside the stud bay?
Choose another bay if one is available. Do not cut, move, or work around live wiring, pipes, or ducts to make the shelf fit. Fire blocking may allow a shorter shelf above or below it, but if it blocks the whole design, another bay is simpler and safer. Otherwise, ask a tradesperson for advice before cutting further.
Can I make a recessed shelf wider by cutting out a stud in the middle?
Only with proper structural advice and framing, not as a first DIY project. Cutting a stud removes support, so a header and supporting studs must carry the load around the opening, with stricter requirements in a load-bearing wall. A safer beginner option is two single-bay shelves side by side, with the middle stud left in place under the trim.
How do I keep a recessed shelf box level and flush with the drywall?
Build the box slightly smaller than the measured opening, check that opening and box are square, and shim the box level and plumb. Set its front face flush with the drywall, screw it into studs, header, and sill, and re-check with a level before finishing. Trim hides small joints, but not a visibly tilted or sunken box.