A flake lands on the towel rail, then another curls above the shower, and suddenly the bathroom ceiling looks tired and neglected. For a beginner, that first sight can feel daunting, but peeling paint on a bathroom ceiling is one of the most forgiving repairs in a modern home. You do not need professional spraying equipment or a plastering qualification. You need patience, the right preparation, and a clear idea of why the paint failed.
Here is the direct answer. First, find and fix the moisture source. Then scrape back to sound, firmly attached paint, feather the edges smooth, clean and treat any mildew, patch dents or cracks, spot-prime with a stain-blocking or bonding primer, and finish with two thin coats of bathroom-rated, mildew-resistant paint. Run the exhaust fan during every shower and for 20 to 30 minutes afterwards. Paint rolled over a damp, dirty, or still-peeling surface will fail again, often within months, no matter how good the topcoat is.
What Your Peeling Bathroom Ceiling Is Actually Telling You About Moisture
A bathroom ceiling endures a harsh daily cycle no other ceiling faces. A hot shower fills the room with warm, moisture-laden air, which rises, meets the cooler ceiling, and condenses into droplets. When ventilation is weak, that moisture sits there long after the shower ends, softening the paint and working underneath it. Repeated daily, the bond between paint and plasterboard weakens, the film bubbles, cracks, and finally curls away.
Reading the Damage on Your Bathroom Ceiling Before You Scrape Anything
Start with the fan, the most common hidden cause and the easiest to test. Switch it on and hold a single square of toilet tissue against the grille. A healthy fan should pull the tissue firmly and hold it. If it barely moves, the fan may be clogged with dust, undersized, or venting into the wrong place. Check that its duct runs outdoors: a fan that dumps steam into a loft or ceiling void simply moves the damp problem out of sight, where it can feed hidden mould.
Next, press gently around the peeling area. Sound paint feels hard and flat, while damaged plasterboard feels soft, spongy, or crumbly, and a bulging section may be saturated. Note whether the damage sits below another bathroom, a roof valley, or a pipe run, and whether brown staining is present, which often marks a leak rather than simple condensation. If you rent, report a suspected leak before repairing anything. Also check your home's age: in houses built before 1978, older paint layers may contain lead. Avoid dry sanding that creates dust, contain debris, and seek lead-aware advice before disturbing large areas; for paid work, contractors must follow lead-safe rules.
Gathering Beginner-Friendly Tools and Bathroom-Safe Materials for a Ceiling Repair
Keep the kit simple: a sturdy scraper and flexible putty knife, sandpaper around 120-grit for feathering edges, a sanding sponge for corners, a dust mask, safety goggles, dust sheets, painter's tape, a bucket, sponges, and a suitable bathroom cleaner. A stable step ladder matters more than beginners expect, because most of this job is overhead work and a wobbly chair is how a simple repair turns into a fall. For filling, a lightweight ready-mixed filler suits small dents and shallow cracks; apply it in thin layers, letting each dry fully, because a thick, rushed fill shrinks and cracks.
For priming, choose a stain-blocking primer for water marks and a bonding primer where old paint is glossy or slick. A clear peel-bonding primer-sealer can help lock down feathered edges on a ceiling that has peeled before. Do not rely on a paint-and-primer-in-one product on a damaged bathroom ceiling; a dedicated primer is the layer that grips, seals, and blocks stains. For the topcoat, choose an interior paint rated for bathrooms, ideally a 100 percent acrylic latex with mildew resistance. Satin or eggshell is the safest default: it sheds moisture and wipes clean more easily than flat paint, without highlighting imperfections like a high gloss would. Buy enough for two thin coats over the whole ceiling, because spot-coating alone almost always leaves a visible halo.
A Beginner's Step-by-Step Bathroom Ceiling Paint Repair, From First Scrape to Final Coat
Scraping Back to Sound Paint and Feathering the Bathroom Ceiling Edges
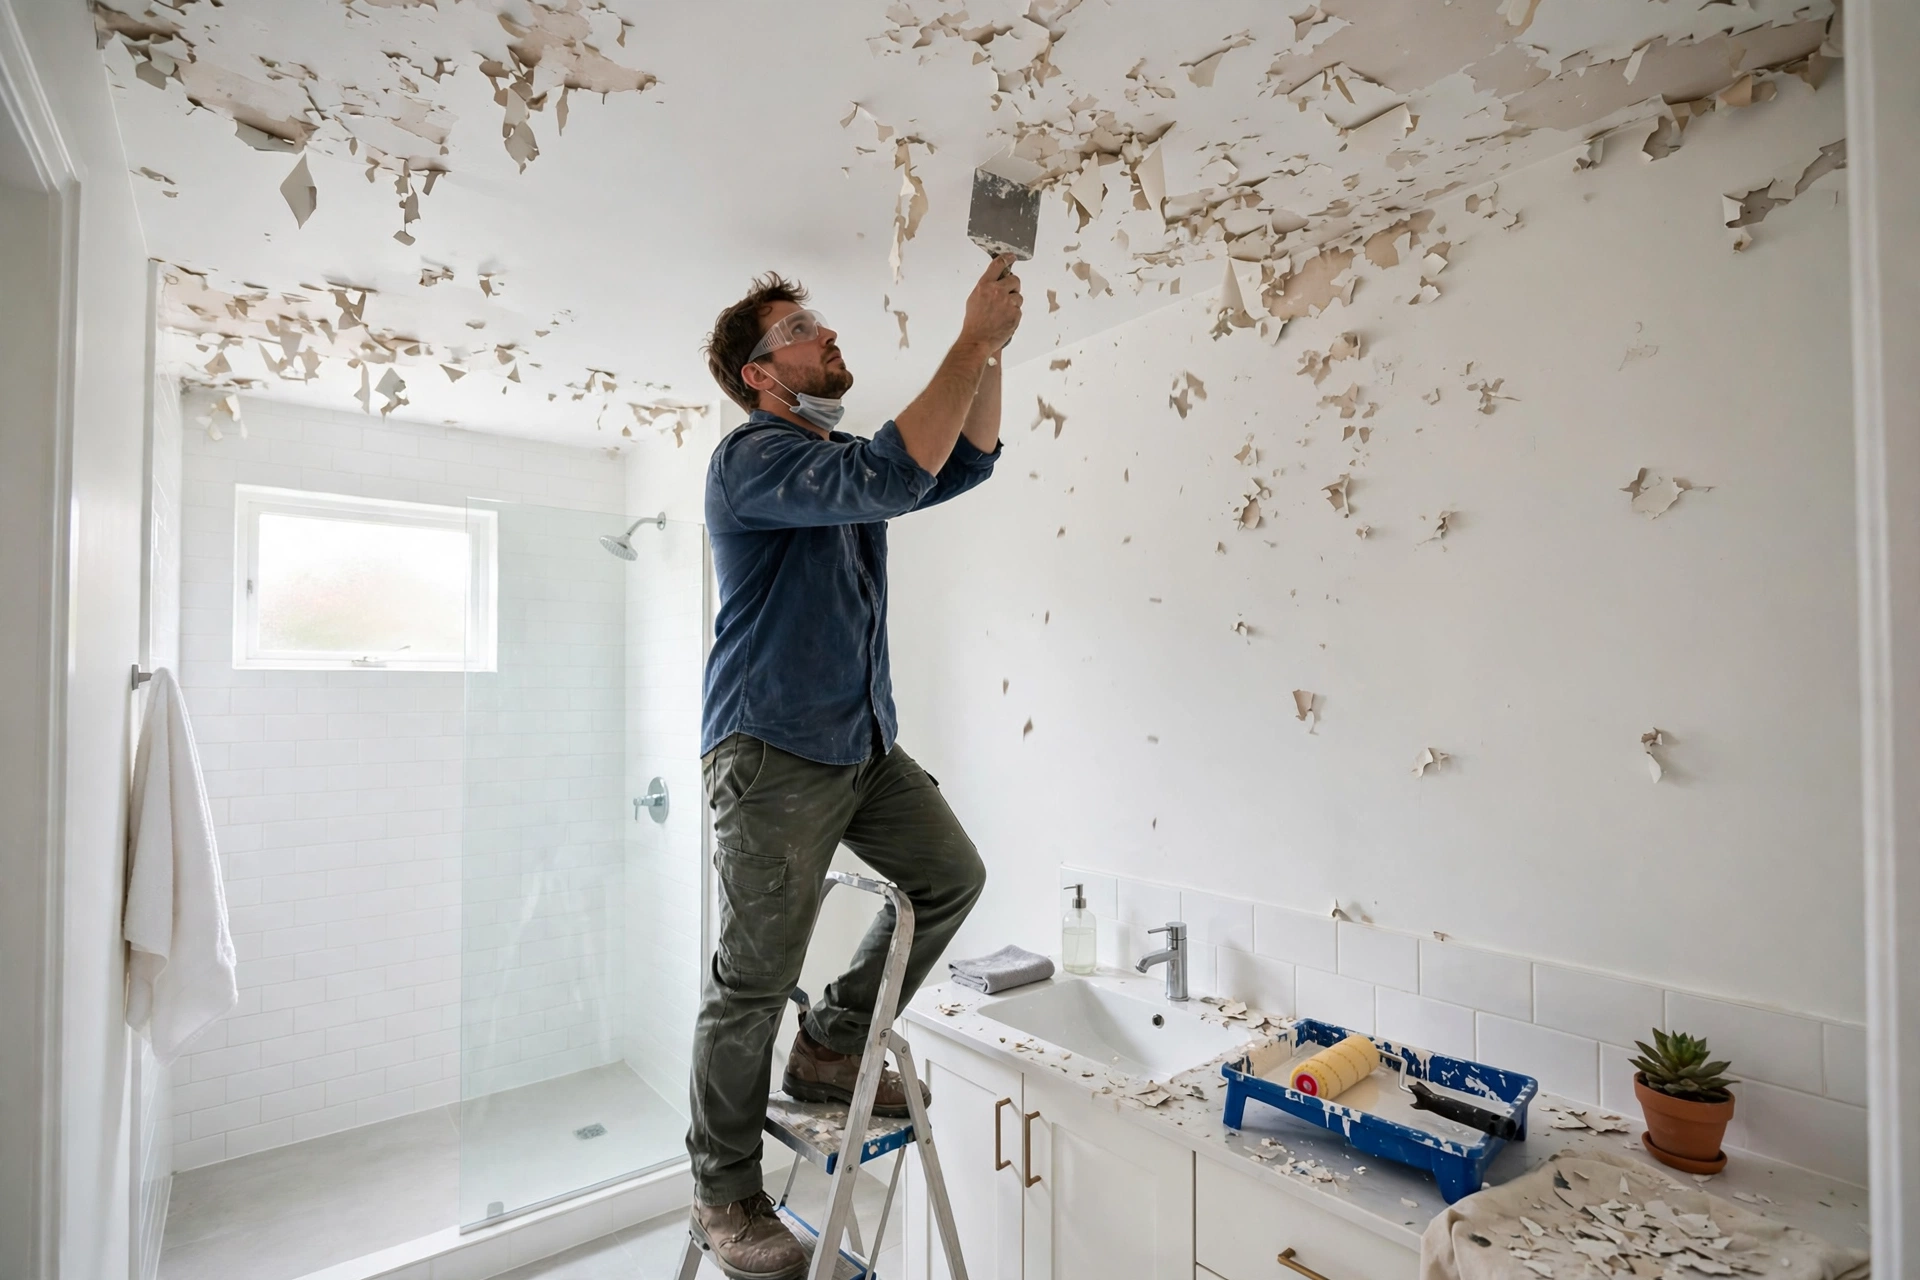
Clear the room, cover everything with dust sheets, and wear your mask and goggles, because flakes fall straight onto your face. Hold the scraper at a low angle and remove every loose, curling, or bubbling flake until you reach paint that will not lift. Do not gouge the plasterboard chasing a stubborn edge; if it will not come off with firm pressure, it is sound enough to stay. Then feather each edge with around 120-grit paper until the ridge between bare ceiling and old paint feels smooth. Run your hand over the join with your eyes closed: if you can feel a step, the paint will show it.
Cleaning, Treating Mildew, and Letting the Bathroom Ceiling Dry Fully
Wash the area to remove dust, soap film, and grease, rinse with clean water, and treat any black or green spots with a mildew-killing cleaner, following its label exactly. Never paint over visible mould or mildew: paint seals it in temporarily, then peels as growth continues underneath. This is the step beginners most often rush. The ceiling must be completely dry before priming, which can take a full day or more in a damp bathroom, so leave the fan running, open a window if you have one, and wait rather than guessing.
Patching, Spot-Priming, and Rolling Two Thin Bathroom Ceiling Coats
Press filler into dents and cracks in thin layers, let each dry, sand flush, and wipe away dust. Spot-prime every bare patch, filler area, and stain, extending slightly onto surrounding sound paint so no unsealed edge remains for moisture to enter. If the ceiling has peeled before, a full coat of bonding primer over the whole ceiling can be a wise extra step. Then cut in around the edges with a brush and roll the main area in one consistent direction, keeping a wet edge and using a roller suited to your ceiling, usually a 3/8-inch nap for smooth ceilings. Apply two thin, even coats, respecting the recoat time on the tin. Thick coats trap moisture, sag, and peel, while two thin coats build a flexible, sealed film.
Making Your Bathroom Exhaust Fan and Daily Habits Protect the New Ceiling
A beautiful repair will not survive a bathroom that stays steamy for hours. Switch the fan on before the shower starts, not after the mirror fogs, and leave it running for 20 to 30 minutes after the shower ends, leaning towards the longer end in a small or windowless bathroom. A timer switch or humidity-sensing fan makes this automatic and is one of the best small upgrades a beginner can ask an electrician to fit. Keep the fan working too: vacuum dust from the grille a few times a year and listen for changes, since a fan that has grown loud or weak is often clogged or wearing out. As a rough guide, many ventilation guides suggest about one cubic foot per minute of airflow per square foot of floor area for smaller bathrooms, although ceiling height and duct length affect the right size.
Bathroom Ceiling Warning Signs That Mean Stop Scraping and Call a Professional
Most peeling bathroom ceilings are safe beginner territory, but some signs mean the job has moved beyond paint. Stop and seek professional advice if the ceiling is sagging or bulging, if plasterboard feels soft or crumbles under light pressure, or if a brown stain keeps returning after an obvious leak is fixed. The same applies to mould over a large area: guidance commonly flags growth over roughly 10 square feet as needing more extensive handling, and painting over it will not solve the underlying damp.
Mind electrical safety overhead too. Keep water and paint away from light fittings and fan housings, switch off the relevant circuit if you must remove a fan cover, and never work on wiring unless qualified. If the fan needs replacing, rewiring, or a new duct run, that is electrician or contractor work, not a first painting project. Likewise, textured ceilings in older homes may hide materials that should not be sanded casually, so ask before disturbing them. Calling a professional is not a failure of do-it-yourself spirit; it is the right call when the problem is structural, electrical, or hazardous rather than cosmetic.
Beginner Slip-Ups That Make Bathroom Ceiling Paint Peel Again
The most common mistake is painting over peeling paint, hoping a thick new coat will glue the old one down. It will not: loose paint keeps moving underneath and the new coat peels with it, often in larger sheets. The second is skipping cleaning, since soap film, dust, and mildew break the bond invisibly. The third is impatience: priming or painting a still-damp ceiling, or recoating before the first coat cures, traps moisture and guarantees blisters. Other quiet slip-ups include using leftover flat wall paint, rolling one heavy coat to save time, forgetting to prime bare filler, and repainting only the patch, which leaves a halo. If a careful repair fails again in the same place, do not simply repeat it harder. Re-test the fan, look for a leak, or get a professional diagnosis.
Final Thoughts on a Bathroom Ceiling That Stays Smooth in a Modern Home
Repairing peeling paint on a bathroom ceiling rewards the beginner who slows down at the start and speeds up only at the end. Diagnose the moisture, scrape to sound paint, feather the edges, clean and treat, patch and prime, and finish with two thin coats of bathroom-rated paint. Then protect that work with the simplest habit of all: a fan that runs during every shower and for 20 to 30 minutes afterwards. Do those things well, and a ceiling that once shed flakes onto the towels can stay smooth, clean, and quietly unremarkable, which is exactly what a good bathroom ceiling should be.
Bathroom Ceiling Peeling Paint Questions Beginners Ask Most
Can I paint over peeling paint on my bathroom ceiling to save time?
No. Loose paint keeps lifting underneath a new coat and takes the fresh paint with it. Scrape to sound paint, feather the edges, prime, and then repaint. The extra hour of preparation is what makes the repair last.
How long should I run the bathroom fan after a shower?
During the shower and for 20 to 30 minutes afterwards as a general guide, longer in small, windowless, or very humid bathrooms. A timer switch or humidity-sensing fan makes this automatic. If the mirror still takes a long time to clear, the fan may be clogged or undersized.
Do I really need primer on a bathroom ceiling repair?
Yes, wherever you have bare plasterboard, filler, water stains, or previously peeling areas. A stain-blocking primer stops marks bleeding through, while a bonding primer grips glossy surfaces. Paint-and-primer-in-one products are not a reliable substitute on damaged ceilings.
What paint finish is best for a bathroom ceiling in a modern home?
A bathroom-rated, mildew-resistant acrylic latex in satin or eggshell suits most modern bathrooms, because it sheds moisture and wipes clean without highlighting imperfections. Semi-gloss suits very steamy rooms with smooth ceilings, while standard flat wall paint is best avoided.
How do I know if my peeling bathroom ceiling is a leak, not just steam?
Brown or yellow rings with defined edges, a bulging or soft section, damp blisters, or peeling that returns quickly after a careful repair all point towards a leak. Check for plumbing or a bathroom above and stop the leak before repainting. If you rent, report a suspected leak promptly.
Is it safe to scrape a bathroom ceiling in an older home myself?
In homes built before 1978, older paint may contain lead, so test first or seek lead-aware advice before large-scale scraping or sanding. Avoid creating dust, contain debris, and remember paid contractors must follow lead-safe rules. When the risk is unclear, a professional is safer.