A heating or cooling pipe inside a finished wall is out of sight until the day it leaks, and then the repair bill is mostly wall, not pipe. A modular access route changes that maths: a planned, removable path of framed panels, a shallow chase, or a drop ceiling section that lets a technician reach concealed pipes without cutting plaster, tile, or flooring. The short answer is that a good retrofit puts an access point at every valve, joint, and pump, keeps hot and cold runs separated and insulated, and uses panels that blend into the room. This guide shows how to map the hidden runs, choose the right system, and install it in stages while the house stays lived in.
Older homes were rarely built with future repairs in mind. Pipes were buried in solid walls, run under screed floors, and boxed behind fixed joinery because nobody expected to touch them again for decades. That assumption held until the first pinhole leak, the first seized valve, or the first upgrade to a heat pump or zoned system — and each of those jobs then turned into demolition, patching, and redecoration. A modular route is the retrofit answer to that design flaw: it gives the hidden network a front door, without gutting the rooms it passes through.
Why Concealed Pipe Networks Become a Problem in Older Homes
The trouble with a concealed pipe is not the pipe itself but the cost of reaching it. A slow leak behind a bathroom wall can soak framing and feed mould for months before it shows as a stain, and by the time a plumber opens the wall the damage has spread to two rooms. A heating circuit that needs balancing faces the same barrier: the only way in is through the finish. Homeowners then pay twice, once for the pipe repair and once for making the wall look untouched again.
Age makes the problem worse. Copper develops pinhole corrosion, galvanised steel narrows with scale, and plastic push-fit joints from the nineties are now reaching the age where seals harden and weep. Add a system upgrade — a condensing boiler, a heat pump, or zoned underfloor heating — and the old network suddenly needs new branches, valves, and controls. Without access, every change means opening walls blind. The retrofit route turns that recurring demolition into a ten-minute panel removal.
What a Modular Access Route Actually Looks Like in a Finished Home
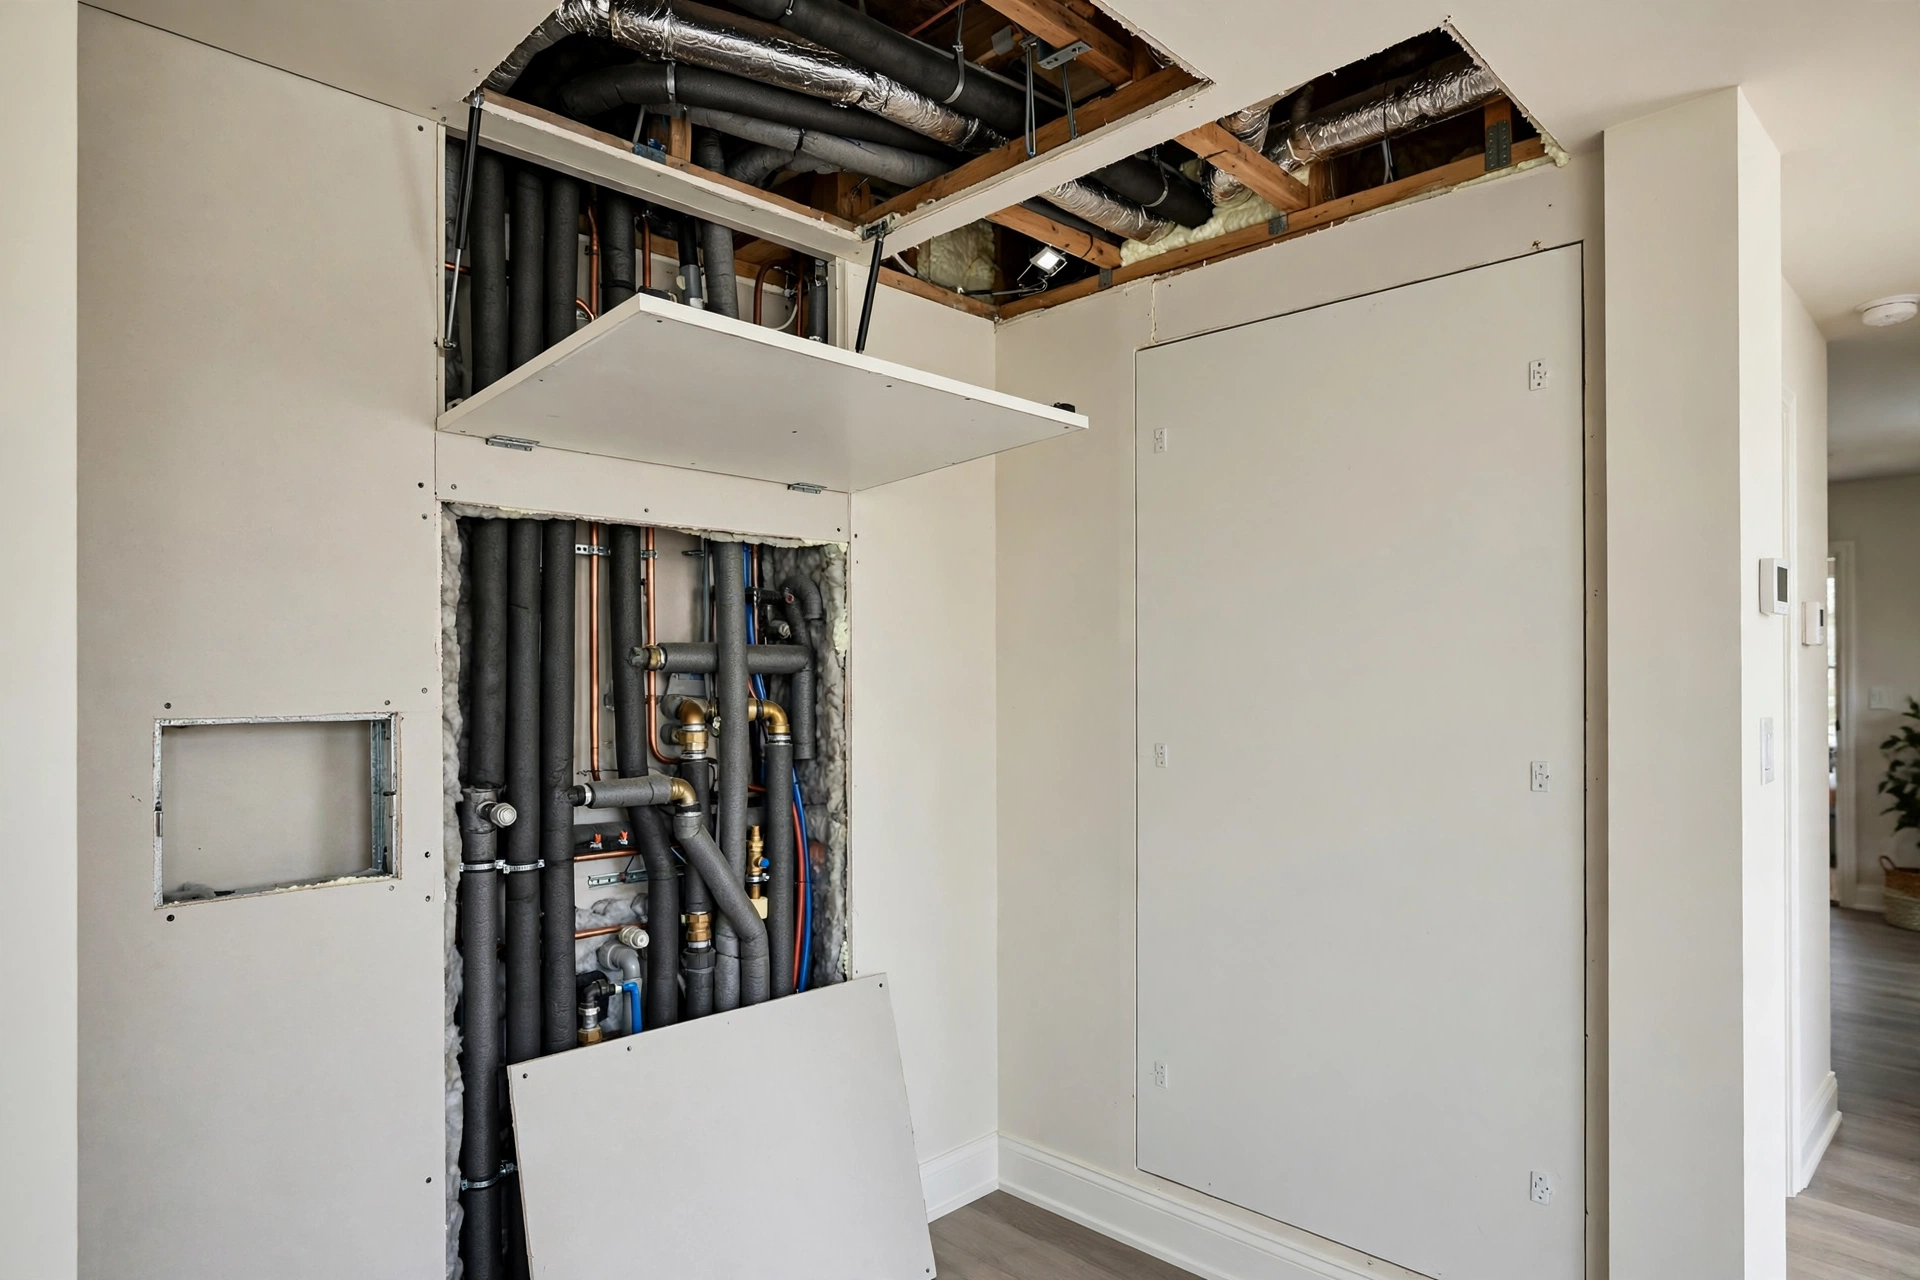
A modular access route is not a single product but a kit of parts fitted to the house. In a hallway it might be magnetic flush panels set into the drywall, painted the same colour as the wall. In a basement it could be a shallow timber chase with a screwed cover board, and in a kitchen a removable plinth or a drop ceiling panel that lifts out on a hinge. Every section comes off with a hand tool or no tool at all, and goes back exactly where it came from.
The route follows the pipes, not the other way round. It runs vertically beside bathrooms and kitchens where the main stacks live, and horizontally through ceiling voids or behind deepened walls to feed radiators and fan coils. At every stop valve, cleanout, manifold, and pump there is a panel large enough for a hand and a spanner. Done well, visitors never notice it.
- Flush magnetic panels in living areas, finished to match the surrounding wall or ceiling.
- Screwed cover boards in utility rooms and basements, where appearance matters less than speed.
- Hinged drop-ceiling sections over long horizontal runs, so a whole length can be inspected at once.
- Removable plinths and toe-kick panels in kitchens, giving access to pipes under cabinets.
- Tileable hatches in bathrooms, finished with the same tile as the wall so the joint disappears.
The choice comes down to how often the section will be opened and how visible it is. A panel over a manifold serviced every year deserves a magnetic catch and a clean finish, while a cover board in a garage can be plain plywood on screws. Spending the finish budget where eyes fall keeps the retrofit affordable.
Mapping the Pipe Runs Before You Cut a Single Opening
No panel should be cut before the pipe map exists. Start with the boiler or heat pump and trace every circuit outward: flow and return to the radiators, hot and cold supplies to the bathrooms and kitchen, condensate and pressure-relief runs, and cooling lines to fan coils or air handlers. A thermal imaging camera, hired for a day, makes this far easier — run the heating for an hour and the warm pipes glow through the plaster, showing the real route rather than the one the original plans suggest.
Mark the map with the points that matter most: every valve, every joint that cannot be reached from elsewhere, every pump, and every place two pipes cross. Those marks become the panel positions. Photograph each open section and keep the pictures with the house documents, so the next person who opens a panel can trust the map. A drawn route also stops the most common retrofit mistake — cutting a panel in the wrong place, then cutting a second one beside it.
Choosing Removable Panels, Chases, and Drop Ceilings That Blend In
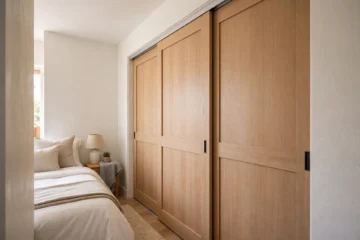
The access system should suit the room it sits in. In living rooms and bedrooms, flush magnetic panels are the quietest option: a steel frame set into the drywall and a magnetic catch that opens with a suction cup or a fingertip. In bathrooms, tileable hatches carry the same tile as the wall and hide behind a grout line. In basements and garages, a simple framed chase with a screwed cover does the same job for a fraction of the cost.
Size matters more than most people expect. A panel that is only big enough to see through is not big enough to work through. Allow room for a hand, a spanner, and a torch, and make the opening at least as wide as the fitting behind it. A manifold with four isolation valves needs a panel roughly the width of a small cupboard door, not a letterbox. Panels that are too small get forced or ignored, and the next repair goes straight back to the saw.
| Access option | Best room | What it costs in practice |
|---|---|---|
| Magnetic flush panel | Living rooms, halls | Higher unit cost, invisible finish |
| Tileable hatch | Bathrooms, wet rooms | Mid-range, blends with tile |
| Screwed cover board | Basement, garage | Lowest cost, fastest to open |
| Hinged ceiling section | Long ceiling runs | Mid-range, opens a whole length |
Separating Hot and Cold Runs So the System Stays Efficient
A shared route is efficient only if the pipes inside it are disciplined. Hot flow and return lines should be insulated along their whole length, not just where they are visible, because an uninsulated hot pipe heats the air around it and wastes energy all winter. Cold supplies need their own clips and a clear gap from hot pipes, or they arrive warm at the tap and feed condensation. Keep the two groups on opposite sides of the chase wherever the layout allows.
Separation is also about the next repair. When pipes are clipped to opposite sides of the route, a plumber can replace a section of heating pipe without disturbing a single cold-water joint, and an electrician can add a sensor cable without touching the plumbing. Use separate fixing clips for each service, label the clips, and leave roughly a quarter of the route empty for future circuits and pipework.
Installing the Route in Stages Without Emptying the House
A whole-house retrofit does not need to happen in one disruptive week. Work room by room, starting with the area that causes the most trouble — usually the bathroom stack or the boiler cupboard. Each stage is a small job: open the wall or ceiling along the marked route, fit the framing and panels, insulate and clip the pipes, then close up and decorate. The house stays lived in because only one room is ever open at a time.
Sequence matters. Pipes go in first, then insulation, then the panel frames, and only then the finish. Tell every trade the same thing before work starts: nothing gets closed up until the route has been photographed and the panel positions checked against the map. That single rule prevents most of the rework that makes retrofits expensive.
- Start with the highest-risk run — the bathroom stack or the boiler cupboard — and work outward.
- Open one room at a time so the house stays habitable through the whole retrofit.
- Photograph every open section before it is closed, and file the pictures with the pipe map.
- Fit insulation and clips before the panel frames go in, never after.
- Test the system for leaks before the final panel is fitted, not after the room is decorated.
Testing before closing is the step most often skipped, and it is the one that saves the most money. A pressure test, or a simple run of the taps while the route is still open, will show a weeping joint in minutes. The same joint found after the room is painted costs a panel removal, a repair, and a redecoration — an hour of testing at the open stage is the cheapest insurance in the job.
Firestopping, Insulation, and Sound Control Along the Route
A vertical access route that runs through several floors can act like a chimney, carrying fire, smoke, and sound from one level to the next. Building rules in most areas require the route to be firestopped where it passes through floors and fire-rated walls, using fire-rated boards, collars around plastic pipes, and intumescent sealant at every penetration. This must be installed as the route is built — once the panels are fitted it is almost impossible to add.
Sound travels the same path. A heating pipe that expands and clicks against a clip can be heard in the bedroom above, and a hollow chase amplifies it. Wrapping pipes in acoustic lagging, using dense board on the chase faces, and sealing gaps with acoustic sealant all help, and the extra cost is small when done during construction.
Keeping Valves, Joints, and Pumps Reachable for the Next Repair
The route earns its keep at the first emergency. A leaking radiator valve at midnight should mean opening a panel and turning a handle, not finding a saw in the dark. That means every isolation valve sits behind a panel, every pump has clearance around it for removal, and every joint that might one day need tightening is reachable without moving furniture. Label each panel on the inside with what sits behind it and which valve it controls.
Maintenance access is also a code matter. Building regulations require access to components that need operation, inspection, or servicing, and a sealed-in valve can fail an inspection even if it works perfectly. A laminated diagram fixed inside the largest access panel — showing pipe routes, valve positions, and shut-off points — turns a mystery wall into a known system.
| Service point | Access needed | How often it is used |
|---|---|---|
| Isolation valves | Panel at each valve | Every repair or emergency |
| Circulation pump | Full clearance around it | Every few years |
| Manifold and air vents | Wide panel, hand room | Annual servicing |
| Pipe joints and tees | Panel within reach | Rarely, when a leak appears |
Retrofit Traps That Turn Pipe Access Into Wall Demolition
Most access retrofits fail for the same few reasons, and all of them are avoidable. Panels cut too small to work through get forced and broken. Routes framed too tight leave no room for insulation, so pipes touch, transmit noise, and lose heat. Access points hidden behind fitted wardrobes or tiled over during a bathroom refresh are as useless as no panel at all. And a route with no map is forgotten within a year.
The other trap is treating the route as leftover space. A chase that is planned as a designed system — sized generously, separated properly, firestopped, insulated, and documented — behaves like proper infrastructure. One improvised around whatever space happens to be free behaves like a hidden problem waiting for its moment. The difference is an afternoon of planning before the first cut.
Modular Pipe Access Questions Homeowners Ask Before Retrofitting
A few questions come up on almost every retrofit, and settling them early keeps the job on track.
Can heating and cooling pipes share the same access route?
Yes, provided they are kept physically separate and properly insulated. Hot pipes should be lagged along their full length, cold pipes kept clear of them, and any condensate drain given its own fall to a safe discharge point. A licensed plumber should check the layout before the route is closed.
Will access panels look out of place in a finished room?
Not if they are chosen for the room. Magnetic flush panels sit flat and take the same paint as the wall, tileable hatches disappear into a tiled surface, and in utility areas a plain screwed board is expected. Most visitors never notice a well-fitted panel.
Do I need a permit to add an access route?
It depends on the work involved. Fitting panels and framing alone rarely needs one, but altering fire-rated walls, moving gas pipework, or changing structural members usually does. Check with your local building control office before cutting into a fire-rated assembly.
How much does a modular access retrofit cost?
Costs vary widely with the number of panels and the rooms involved. As a broad estimate, a single bathroom stack with two or three panels is a modest job, while a whole-house route with a dozen panels is a larger project. The saving shows at the first repair, with no demolition or redecoration to pay for.
Can I add an access route to a home with solid brick walls?
Yes, usually by building a false wall or a boxed-out section in a closet, hallway, or behind a bathroom. The route needs a clear vertical path between floors, and a retrofit chase rarely matches a designed-in one for capacity, but it still beats opening finished walls.
Final Thoughts: A Retrofit That Pays for Itself at the First Leak
A modular access route is one of those quiet decisions nobody notices until the day it matters. Planned early, mapped carefully, sized generously, and documented clearly, it turns every future heating and cooling repair into a small, tidy job instead of a destructive one. The framing, the panels, and the afternoon spent drawing the route are the cheapest insurance a home’s hidden pipework can have — and the first time a valve is reached without touching a saw, the route will have paid for itself.