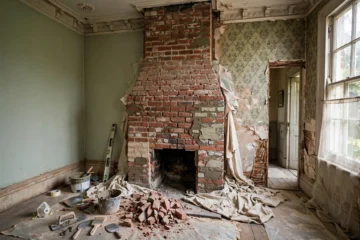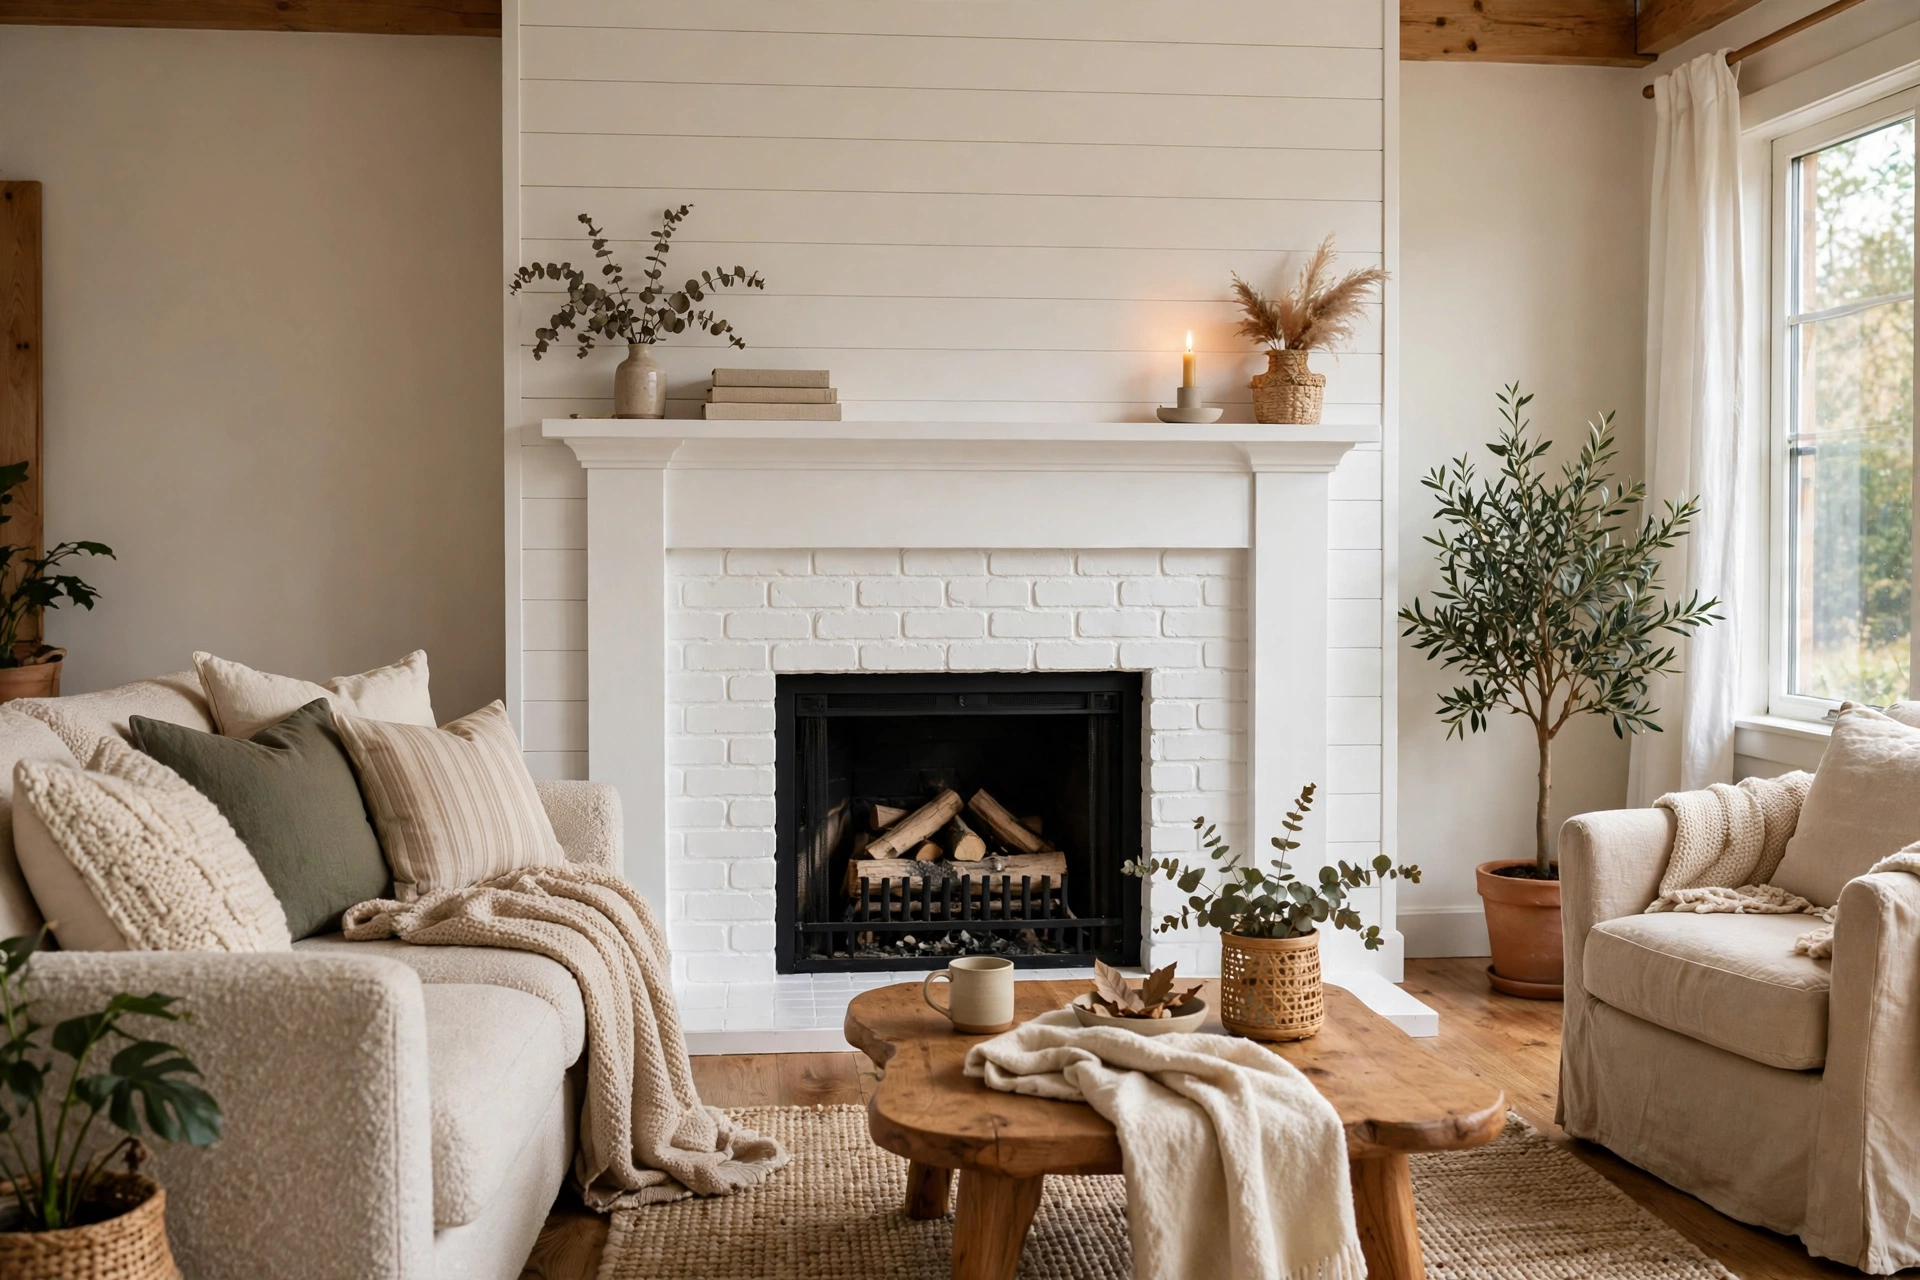
A dated fireplace can make an otherwise fresh room feel stuck in another decade. The brick may be a harsh red-orange, the stone may be dark and heavy, or the mantel may be coated in a glossy finish that no longer suits the furniture around it. Replacing the surround is expensive and disruptive, but painting it is not, which is why a fireplace paint update remains one of the highest-impact weekend projects in a home.
The short answer is that a cleaned, repaired, and primed fireplace surround painted with a suitable masonry or interior paint, in two thin coats, can transform the room for the cost of a few tins and a weekend of work. Solid paint gives the cleanest modern look, whitewash keeps brick texture visible, and limewash gives a soft mineral finish. The sections below cover choosing the finish, preparing brick, stone, and tile, painting safely around heat, and the small weekend extras that finish the job.
Choosing Between Solid Paint, Whitewash, and Limewash for a Fireplace
Solid paint is the most dramatic option. It covers colour variation and mismatched brick completely, giving a uniform, contemporary surround in white, soft black, or a warm neutral. It is also the most forgiving of a patchy brick, because two coats hide almost everything. The trade-off is that the brick texture becomes a surface pattern rather than a visible material, and a future owner who wants bare brick back will face a difficult stripping job.
Whitewash is a thinned paint that lets some brick colour and texture show through, producing a softer, cottage-style result. Limewash is a mineral wash that soaks into masonry for a matte, old-world finish that breathes and ages gracefully. Both are less opaque, so they suit brick in good condition with attractive variation, and both need more care during application, because uneven coverage shows. Choose solid paint for a clean modern update, and a wash for character and texture.
Fireplace Paint Finishes Compared for Brick, Stone, and Tile
Whatever finish you choose, the paint for the surround itself does not usually need to be heat-resistant, because the surround sits outside the firebox and rarely reaches extreme temperatures. Paint inside the firebox is a different matter and needs a high-heat product rated for that use. Never use ordinary paint inside a firebox, and if the surround becomes extremely hot during a fire, choose a heat-rated product and seek advice before painting it.
Cleaning and Repairing a Fireplace Surround Before Painting
Paint only lasts on a fireplace if the surface is clean. Years of soot, dust, and smoke residue sit in the pores of brick and stone and will stop paint bonding, so start by brushing the surround with a stiff brush, then washing it with warm soapy water or a masonry cleaner. For stubborn soot, a trisodium phosphate substitute used according to its label can help. Let the surround dry completely, which may take a day or two in a damp room, before priming.
While it dries, repair what paint cannot hide. Fill crumbling mortar joints and chips with a suitable masonry filler or caulk, sand rough spots lightly, and check the mantel for loose fixings. A painted fireplace draws the eye, so a cracked joint or a wobbling mantel that was easy to ignore before will stand out afterwards. Fixing these small defects is a weekend job in itself, but it is what separates a professional-looking update from a quick coat that peels.
Priming a Brick or Stone Fireplace for a Lasting Paint Finish
Brick and stone are porous, so primer is not optional for a solid paint finish. A stain-blocking masonry primer seals the surface, blocks soot stains from bleeding through, and gives the topcoat something consistent to grip. Apply it with a roller with a thick nap for the faces and a brush for mortar joints and crevices, and plan on two coats on very porous or heavily stained brick. Skipping primer is the most common reason a fireplace paint job looks patchy or peels within a year.
Tile surrounds need a different primer: a bonding primer after light sanding, which gives paint a key on a glazed surface that would otherwise reject it. Stone surrounds behave like brick, but very smooth or sealed stone may need a test patch first to confirm adhesion. In every case, tape off the walls, floor, hearth, and firebox opening before priming, and protect the floor with a drop cloth, because masonry primer is difficult to remove from finished floors.
Painting a Fireplace Surround Step by Step Over a Weekend
Plan the weekend in two halves: preparation and priming on the first day, painting and finishing on the second, with drying time between coats. Start by cutting in the edges with a brush, then roll the faces, working from the top down so drips fall onto unfinished areas. For whitewash, work in small sections and wipe or brush to the desired transparency before moving on, because a wash that dries in patches is hard to even out later.
- Use two thin coats rather than one thick coat, and let each coat dry fully before the next, following the tin.
- Keep the room ventilated and the fireplace completely cold and unused for at least a day before and during painting.
- Paint the mantel as part of the same job, using a durable enamel after the same cleaning, sanding, and priming routine.
Expect the surround to need a second coat even when the first looks acceptable, especially on dark or soot-stained brick. Assess the finish in daylight and in evening light before deciding it is done, because a fireplace is viewed under both. A clear protective coat is optional on a painted surround, but if you use one, choose a water-based product compatible with the paint and test it on a hidden area first.
Weekend Fireplace Extras That Complete a Paint Update
Paint alone changes the colour, but a few small extras change the whole composition. A refreshed mantel in a crisp white or a rich accent colour pulls the surround together, and new hardware, a simple fire screen, or a restyled hearth can make the painted brick read as intentional rather than merely covered. Replacing a dated brass trim with a matte black finish, for example, is a small job that often has an outsized effect on a freshly painted surround.
Styling matters too. Once the paint has cured, dress the mantel simply: a mirror or a piece of art sized to the surround, a pair of objects at different heights, and nothing that crowds the firebox opening. The goal is to let the new finish be the focal point, not to hide it behind clutter. If the room still feels dated after painting, the problem is usually the mantel styling or the hearth, not the paint itself.
Fireplace Paint Safety and When to Call a Professional
Safety comes before appearance on any fireplace project. Do not paint a fireplace that is hot, recently used, or venting poorly, and do not paint over damaged firebrick, a cracked firebox, or a chimney that has not been inspected if you have doubts about it. Regular paint must never go inside the firebox, and any work involving gas lines, chimney structure, or a fireplace that smokes into the room should be left to a qualified professional.
Ventilation during painting is also important, especially in a room with a chimney that can draw fumes back inside. Open a window, keep the room aired until the paint has cured, and follow the product labels for drying and curing times before lighting a fire again. If you are unsure whether your fireplace is safe to use, or whether the surround gets hot enough to need a heat-rated product, ask a chimney professional before painting rather than after.
Colour Direction for a Painted Fireplace: White, Black, and Warm Neutrals
Colour choice decides whether a painted fireplace brightens the room or dominates it. Crisp white is the most popular choice for a reason: it reflects light, makes a small room feel larger, and acts as a neutral backdrop for seasonal decor. Soft black, by contrast, creates a dramatic focal point and hides soot staining far better than white, but it needs enough light and a large enough room to avoid feeling heavy. Warm neutrals such as greige, soft taupe, and warm grey sit between the two, softening a harsh brick without the starkness of pure white.
Test colour in the room before committing, because fireplace light changes dramatically through the day. Paint a large sample board, or a hidden section of the surround, and view it in morning light, in evening lamplight, and with a fire lit if the fireplace is in use. Consider the mantel and hearth as part of the same colour decision: a white surround with a natural wood mantel reads warm and traditional, while a black surround with a white mantel reads graphic and modern. The right combination is the one that suits the furniture already in the room, not the one that looked best in a photograph.
Final Thoughts: Giving a Dated Fireplace a Painted Second Life
A fireplace paint update works because it changes the largest visual surface in the room for the smallest budget and the least disruption. Clean thoroughly, repair the mortar, prime properly, apply two thin coats, and finish the mantel as part of the same weekend. The result is a surround that looks deliberate, modern, and clean, and a room that finally feels as current as the rest of the house.
Painting a Fireplace FAQs
What is the cheapest way to update a fireplace?
Painting the surround is usually the cheapest high-impact update, requiring only cleaner, primer, paint, brushes, and a roller. Materials for a standard fireplace often cost a modest amount, with most of the investment being a weekend of preparation and painting time.
Do I need heat-resistant paint for a fireplace surround?
Usually not for the surround itself, which sits outside the firebox. Use a suitable masonry or interior paint with a stain-blocking primer, and reserve high-heat paint for inside the firebox, where ordinary paint must never be used.
Should I whitewash or solid-paint my brick fireplace?
Choose solid paint for a clean, uniform, modern look that hides mismatched brick, and whitewash or limewash when you want to keep brick texture and variation visible for a softer, cottage-style result.
How do I stop soot stains bleeding through fireplace paint?
Clean the brick thoroughly, let it dry fully, and apply a stain-blocking masonry primer, with two coats on heavily stained areas. Without primer, soot stains will often show through even two coats of topcoat.
Can I paint a tile fireplace surround?
Yes, after cleaning, lightly sanding the glaze, and applying a bonding primer. Allow the primer to cure as directed, then apply two coats of a durable interior paint, and expect the result to need more careful cleaning than a brick surround.
When should I call a professional about a fireplace?
Call a professional if the firebox is cracked, the chimney smokes into the room, gas lines are involved, or you are unsure whether the surround needs a heat-rated product. Cosmetic painting is a weekend job, but fireplace safety is not.